

Halloween is right here and I just absolutely love it. To get into the festive vibe its always fun to start with an outdoor decor. Halloween Outdoor decor is so much fun. And the best part is you can start decorating right from Mid September and keep the decorations until the end of October. Halloween is just the best time of the year for me. And decorating for Halloween is just super fun.
From Halloween Porch decorations to DIY indoor Halloween decorations to Halloween Party decor, the earlier you start planning, the better and spookier your decor is going to turn out to be. This Halloween to make it easier for you I have got you some of the absolute best Halloween Aesthetic Decoration ideas along with DIY instructions. These are super easy DIY instructions which you can use to put up the best Halloween decor for your home.
Outdoor Yard Halloween decor
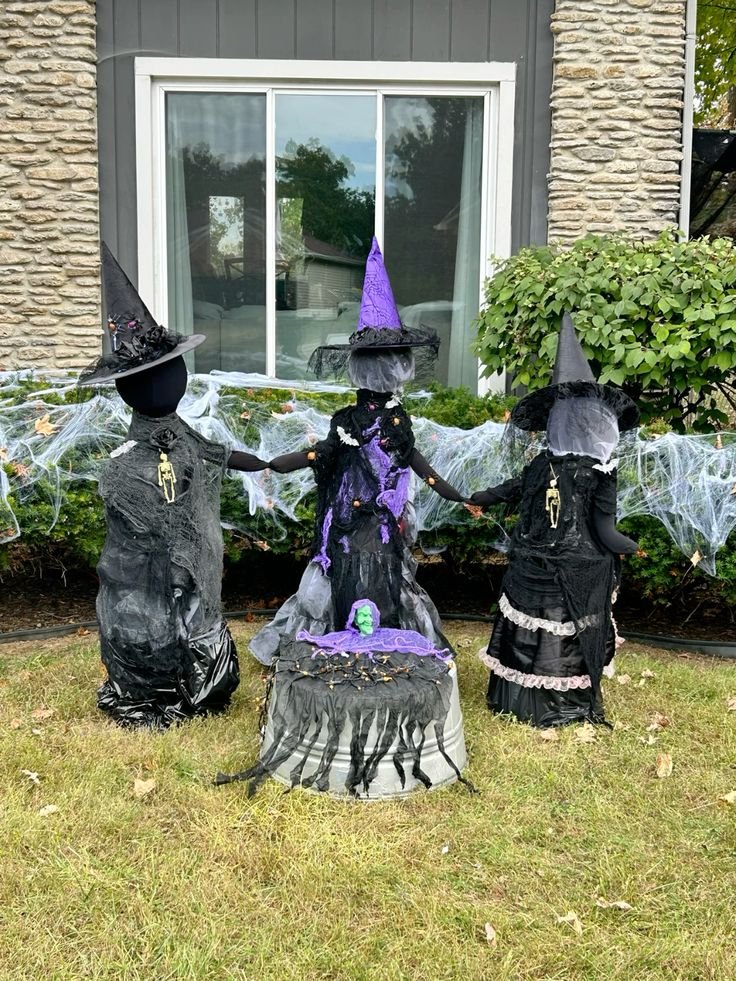
Witches in the Yard
To make this one you can simply drape trash bags over wooden logs or poles. Top it up with some Witch Hats and also make the witch hands with some trash bags or black cloth.

DIY Witch for yard
You can either use your mailbox or you can use a small wooden log and top it off with a ball. Add a witch Hat on top. And drape it with some black coloured trash bags and tulle ribbons. It looks extremely realistic.
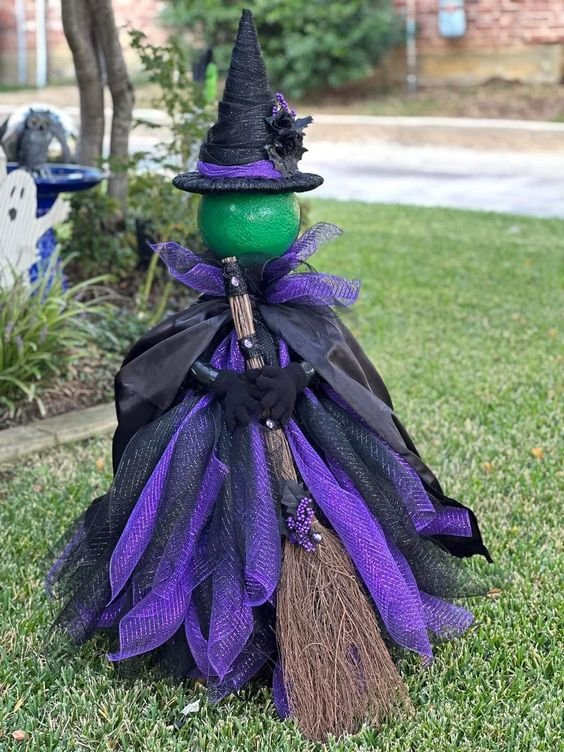
Halloween outdoor
This Halloween rather than buying anything else, you mist be on a lookout for some fun props. These Leg Props are just perfect for a quick Halloween decor. You can either paint it and dress it up to make it look like Witch legs.
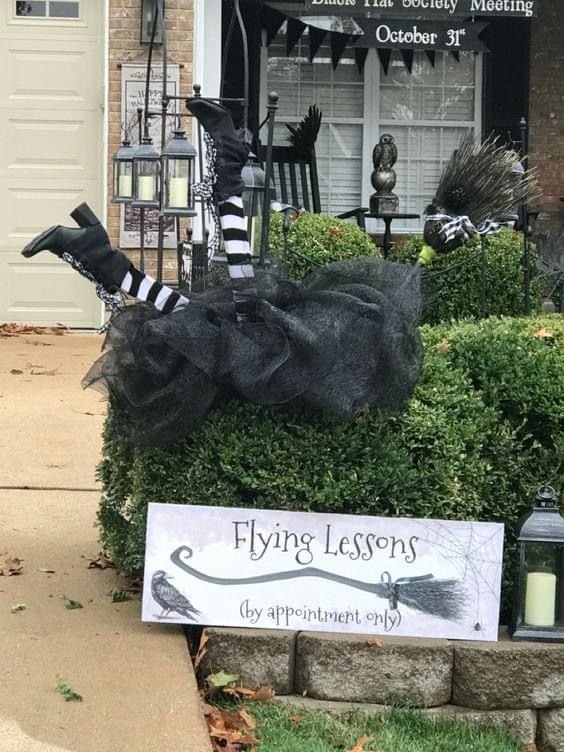
DIY Three Witch Sisters in the Yard
Creating a creepy gathering of witch sisters in your front lawn is one of the most effective ways to make a big impact on a small budget. These life-sized figures look terrifyingly realistic at night, especially when caught in the glow of streetlights or porch lamps. By using simple outdoor items, you can construct three cackling witches holding hands around a focal point in your garden or walkway.
Materials Needed:
- 3 Wooden Stakes or Tall Garden Poles (approx. 5–6 feet tall)
- 3 Foam Balls or Styrofoam Spheres (for the heads)
- Black Trash Bags or Black Tulle Fabric (approx. 5 yards per witch)
- 3 Black Witch Hats (inexpensive options from dollar stores work best)
- Zip Ties or Heavy-Duty String
Step-by-Step Instructions:
- Set Up the Frames: Drive the three wooden stakes firmly into the ground in a circle, about 3 to 4 feet apart from each other. Secure a foam ball onto the top of each stake to form the head.
- Drape the Bodies: Layer the black trash bags or black tulle over each foam head, letting the fabric drape down all the way to the grass to cover the poles entirely. Fasten the fabric tightly around the neck area using zip ties or string.
- Form the Sisterhood: Tie the loose ends of the fabric or tulle between each witch together at mid-height, making it look as though all three witches are holding hands in a ritual circle.
- Cap Off with Hats: Secure a black witch hat on top of each foam head using a small dab of hot glue or safety pins so they don't blow away in the October wind.
Pro-Tip: Place a small solar-powered spotlight or green outdoor floodlight in the middle of their circle pointing upward for a haunting nighttime glow!
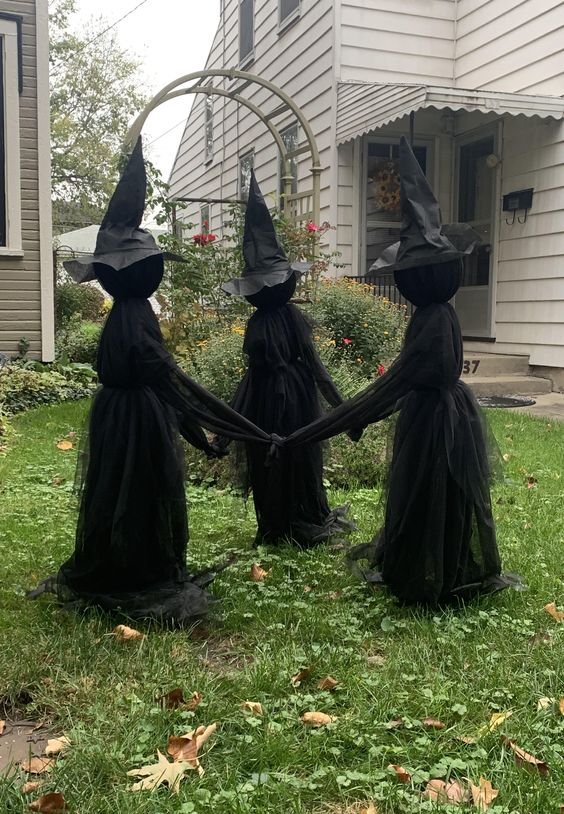
Spooky Halloween entrance
DIY Wooden Pumpkin Board Craft
Transforming reclaimed wooden pallets into a primitive pumpkin board is a budget-friendly outdoor decor project that adds rustic charm to your front porch or garden pathway. This sturdy DIY piece holds up remarkably well against autumn weather and provides an eye-catching focal point near your entryway.
Materials Needed:
- 1 Wooden Pallet or 3–4 Flat Wooden Planks
- Orange, Black, and Brown Acrylic Exterior Paint
- Jigsaw or Hand Saw
- Sandpaper (Medium and Fine Grit)
- Wood Glue & Screws or Nails
- Burlap Bow or Artificial Autumn Leaves (optional)
Step-by-Step Instructions:
- Prepare the Wood: Align 3 to 4 wooden planks side-by-side. On the back, attach two horizontal cross-braces using wood glue and screws to lock the boards firmly together into a single flat panel.
- Trace and Cut the Shape: Draw a broad pumpkin outline across the front of the combined planks using a pencil. Carefully cut along your outline using a jigsaw, then smooth all rough edges with sandpaper.
- Paint the Surface: Coat the body in warm orange exterior paint, leaving slight gaps between the planks to allow the natural wood texture to show through. Paint a brown stem at the top and add optional black Jack-O'-Lantern facial features.
- Distress and Seal: Once dry, light sand the edges and high spots to create an aged, vintage look. Staple a burlap bow or fake fall foliage near the stem for extra visual detail.
Pro-Tip: Prop the pumpkin board against a bale of hay or stack it alongside real pumpkins on your front steps for a layered harvest look
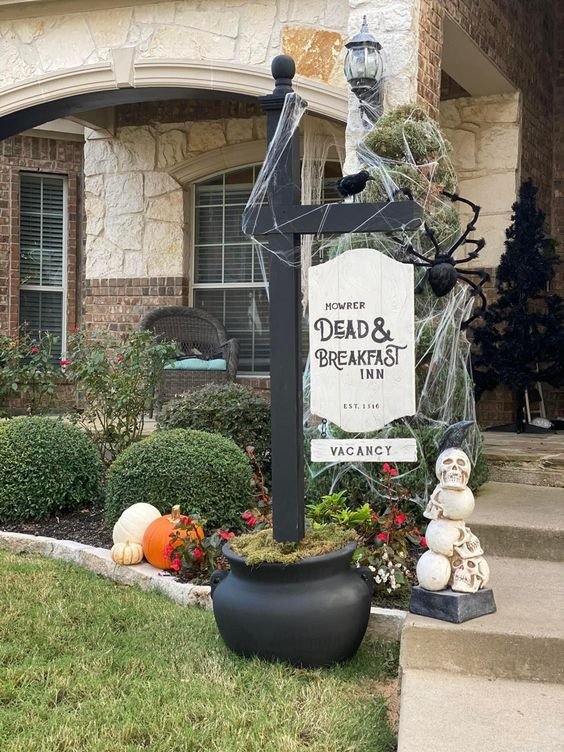
DIY Witches for the Yard
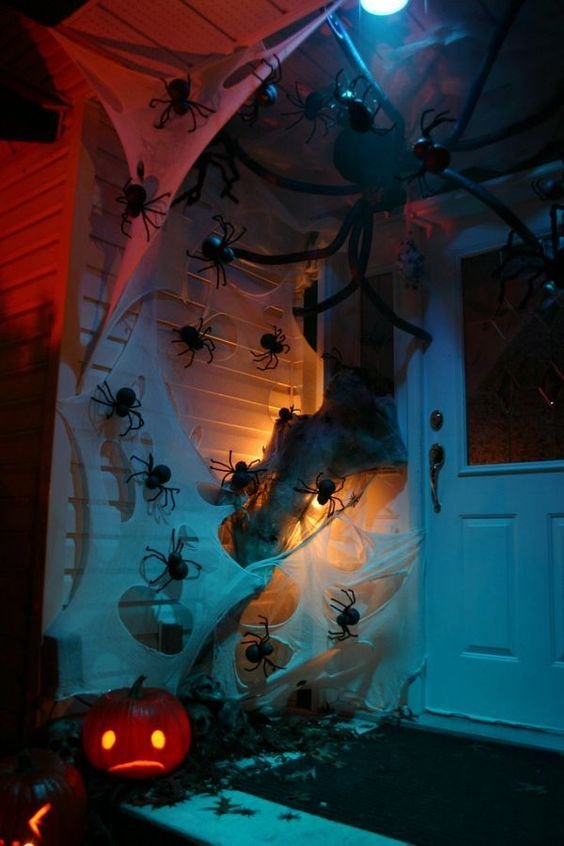
Spiderweb porch decor
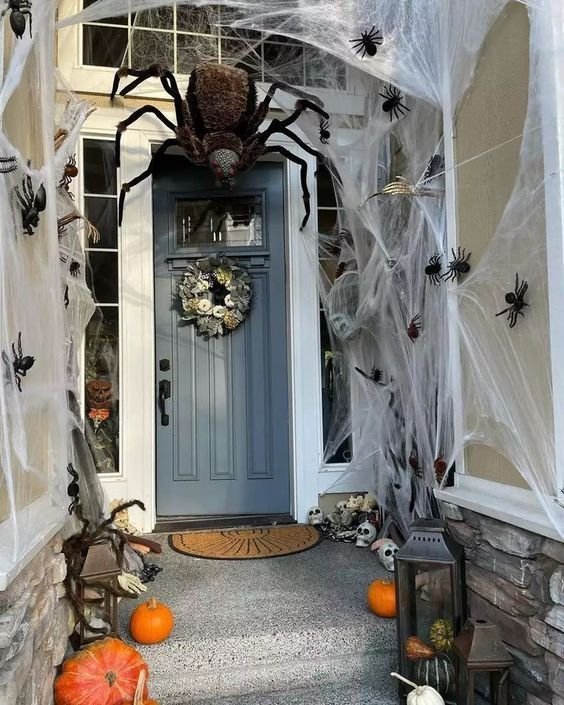
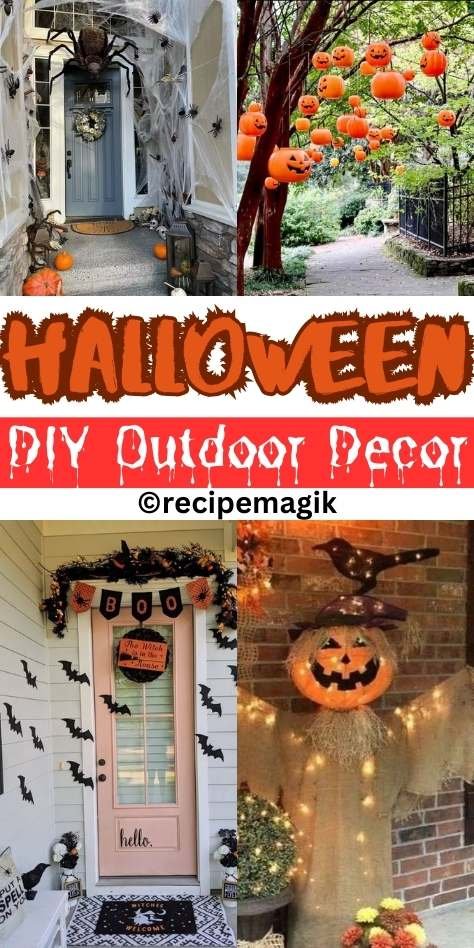
DIY Giant Spiderweb Porch Decor
Spanning a giant spiderweb across your front porch or entryway instantly transforms your home into a haunted house. This classic Halloween setup takes up a massive visual footprint without costing much, creating high-impact curb appeal that catches the eye of trick-or-treaters from down the street.
Materials Needed:
- 1–2 Spools of White Beef Netting or Heavy White Yarn/Rope
- Gutter Hooks or Adhesive Outdoor Hooks
- Scissors
- Giant Plastic Spiders (varying sizes)
- Outdoor LED String Lights (optional)
Step-by-Step Instructions:
- Anchor the Main Lines: Secure 3 to 4 long strands of rope or unclasped beef netting from the top corners of your porch ceiling or gutters down to the porch railing or lawn stakes to form the outer structural frame.
- Weave the Webbing: If using yarn or rope, tie concentric circles starting from the center and working outward, knotting each intersection securely. If using beef netting, stretch and cut small slits in the material, pulling it taut in all directions to create a realistic, shredded web effect.
- Attach the Spiders: Secure giant fake spiders into the webbing using their bendable wire legs or zip ties, positioning the largest spider near the focal point or center of the web.
- Light It Up: Weave a strand of purple or orange LED fairy lights behind the webbing to make the entire porch glow eerily after dark.
Pro-Tip: Pair this setup with a low-lying fog machine hidden behind porch planters to make the spiderweb look like it's floating in mid-air!
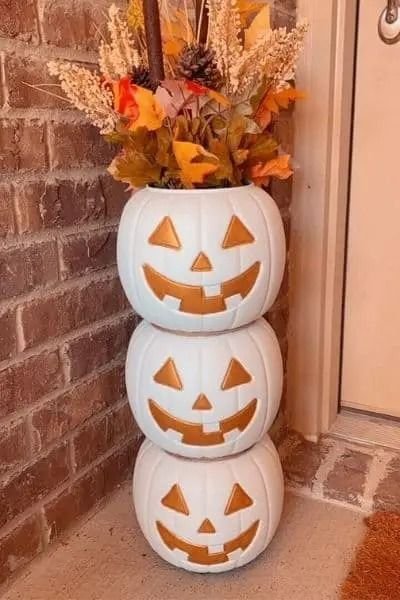
Pro-Tip: Place a small brick or weight inside the bottom pumpkin before stacking to keep the topiary completely stable against strong October winds!

DIY Pumpkin Fall Topiary
Creating a multi-tiered pumpkin topiary gives your front porch immediate height and festive curb appeal. Stacking carved or artificial gourds vertically transforms a simple entryway into an eye-catching autumn focal point that catches the eye of everyone passing by.
Materials Needed:
- 3 Craft Foam or Plastic Trick-or-Treat Pumpkin Baskets (staggered sizes work best)
- 1 Heavy Base Planter or Urn
- 1 Wooden Dowel or Metal Garden Stake (approx. 4–5 feet tall)
- Battery-Operated LED Fairy Lights
- Artificial Fall Foliage or Ribbon Scraps
Step-by-Step Instructions:
Light and Detail: Weave LED fairy lights inside each carved opening so the faces glow after dark. Fill any visible gaps between the stacked pumpkins with faux autumn leaves or burlap bows.
Anchor the Base: Fill your bottom planter with soil, gravel, or heavy floral foam, then drive the center dowel firmly into the middle to serve as the main spine.
Prep the Pumpkins: Using a utility knife, carefully cut small holes in the center of both the top and bottom of each pumpkin basket (except the very top pumpkin, which only needs a hole at the bottom).
Thread and Stack: Slide the largest pumpkin down the dowel first until it rests flush on the planter rim. Thread the remaining pumpkins in decreasing size order directly on top.
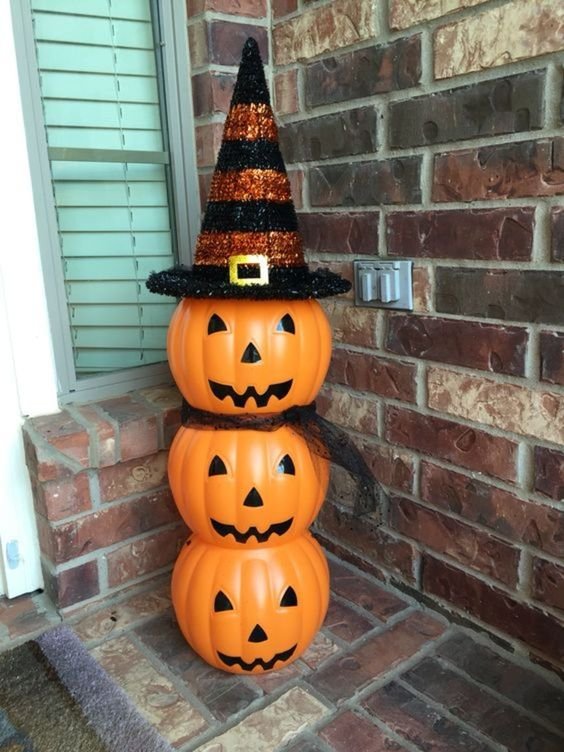
This is so easy to make. You can use simple carved out pumpkins which are easily available in dollar stores and use it to make a topiary.
Pumpkin board
This is such a creative Halloween craft. You can use wooden pellet board and carve out Pumpkin designs in it to make these.
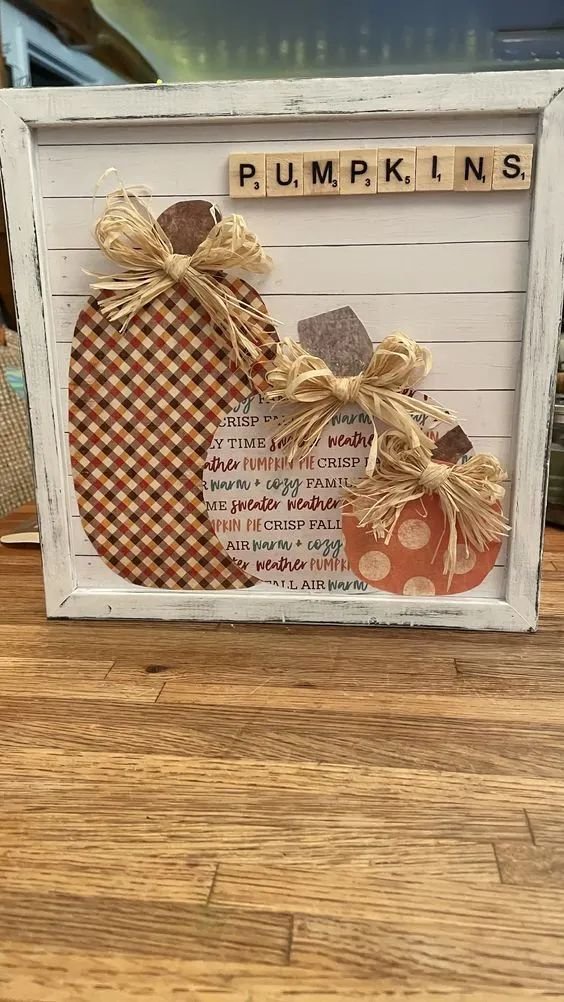
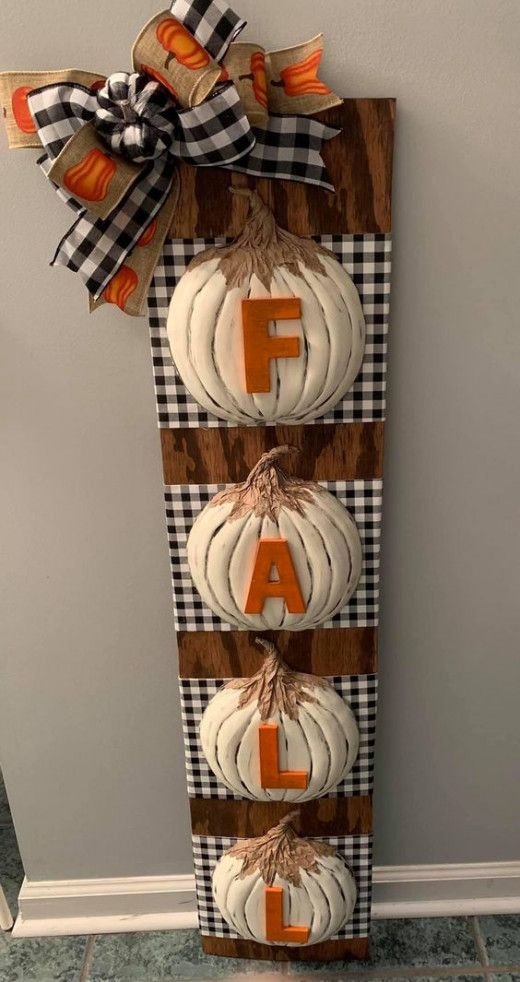
DIY Rustic Wooden Pumpkin Scrabble Board
This creative pallet wood sign combines rustic farmhouse textures with oversized Scrabble tiles to spell out a cozy fall message. It’s an easy, budget-friendly craft that adds warmth to a porch display, mantle, or front entry.
Materials Needed:
- Framed Wooden Slatted Board or Pallet Wood
- Gingham Patterned Craft Fabric or Paper (in brown or orange)
- Burlap Ribbon & Raffia Bows
- Wooden Scrabble Letter Tiles (or square wood cutouts with painted letters)
- Hot Glue Gun & Glue Sticks
- White and Off-White Acrylic Paint
Step-by-Step Instructions:
- Prep and Paint the Frame: Paint the slatted wooden background with a wash of off-white or cream paint, lightly distressing the edges with sandpaper for an aged, vintage feel.
- Craft the Pumpkins: Cut out two pumpkin shapes from sturdy cardboard or thin wood craft sheets. Wrap and glue the gingham fabric neatly over each pumpkin cutout, topping each with a small stick for the stem and a raffia bow.
- Arrange the Letter Tiles: Lay out the wooden Scrabble tiles across the top half of the board to spell "P-U-M-P-K-I-N-S" (or "F-A-L-L"), making sure they are centered and level.
- Assemble and Secure: Hot glue the Scrabble tiles firmly along the top plank, then affix your gingham fabric pumpkins along the bottom edge to complete the composition.
Pro-Tip: Prop this board up next to a bale of hay or a group of real white pumpkins on your front steps for a charming layered harvest look!
Fall truck is just a fun craft for Halloween. You can use cardboard to traceout truck design using a printout and then decorate it with gingham fabric and dried fall leaves.
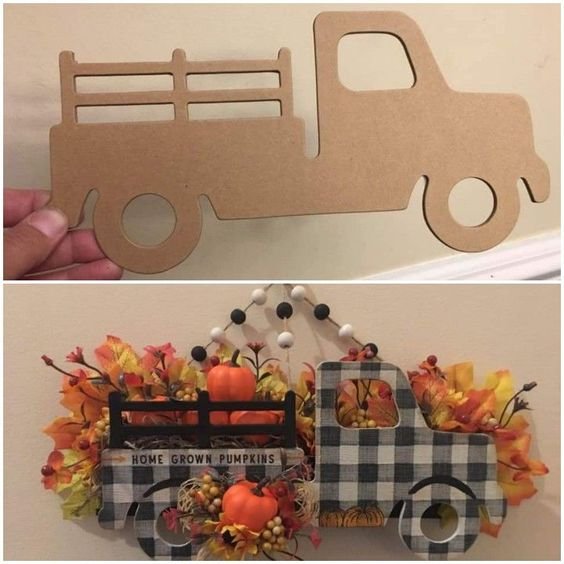
DIY Fall decor
This wooden pellet Pumpkin decor is a fun decor which you can easily do.
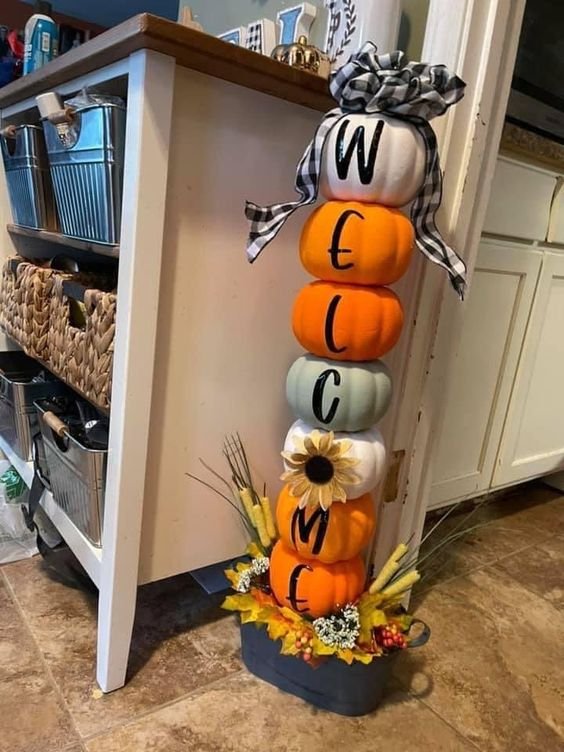
Fall Welcome Topiary
To make the best of fall and Halloween season you can use dollar store big sized Pumpkins and arrange it one atop of other to make a topiary. Then you can use paint to trace out welcome sign over it and decorate it with some gingham ribbons.
Home Sweet Home Topiary for fall using pumpkins and wooden pellet signboards.
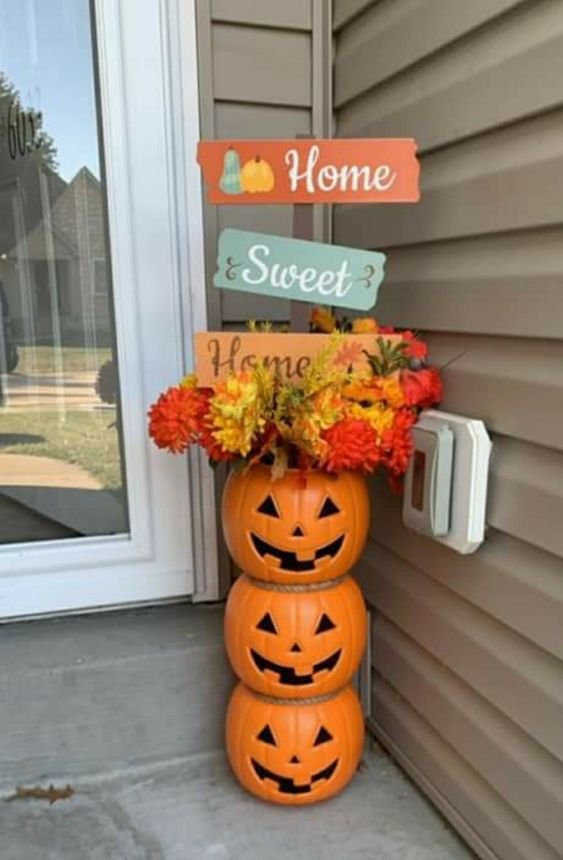
Halloween Pumpkin Topiary
This is another fun topiary which you can easily DIY. All you need is some Pumpkins which you can easily find from dollar stores. To that you can add a Dollar store bought Witch hat which you can top over it. And just like that you have the perfect Halloween Pumpkin Witch topiary which looks so cute.
Hocus Pocus Topiary
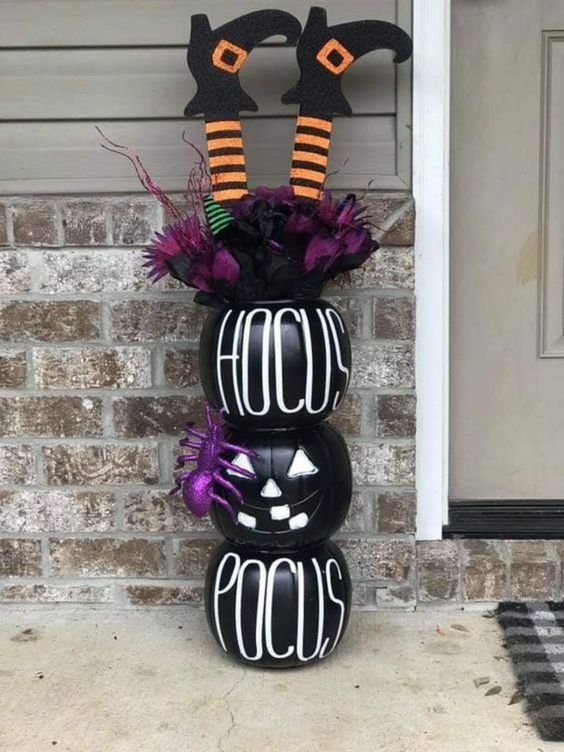
Pumpkin Planters are an amazing addition to your home during Fall and Halloween season. Either you can get carved out Pumpkins or you can Carve them yourself, paint it and then use them as flower vases.

Halloween outdoor scarecrow is a spooktacular decor for Halloween front porch. You can use hangers to make a scarecrow design. Then top it over with a carved out pumpkin and paper crow. You can add lights and burlap to bring this to life and its going to look so amazing.
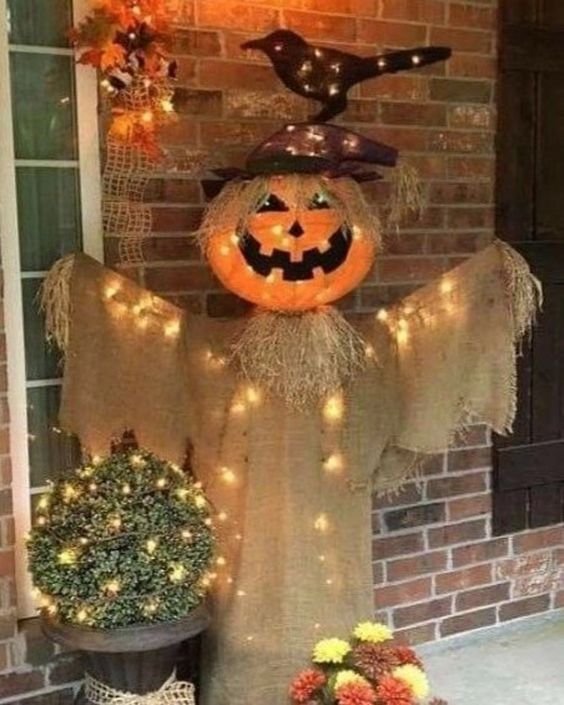
Halloween outdoor scarecrow decor is just the best way to do any DIY Outdoor decor for Halloween. You can use a mannequin mold and cover with with any black shroud and decorate with a witch hat.
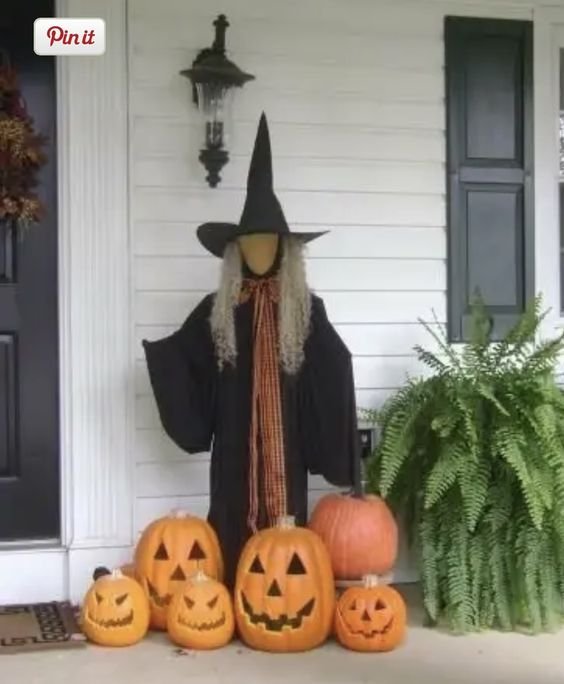
DIY Ghost for front porch
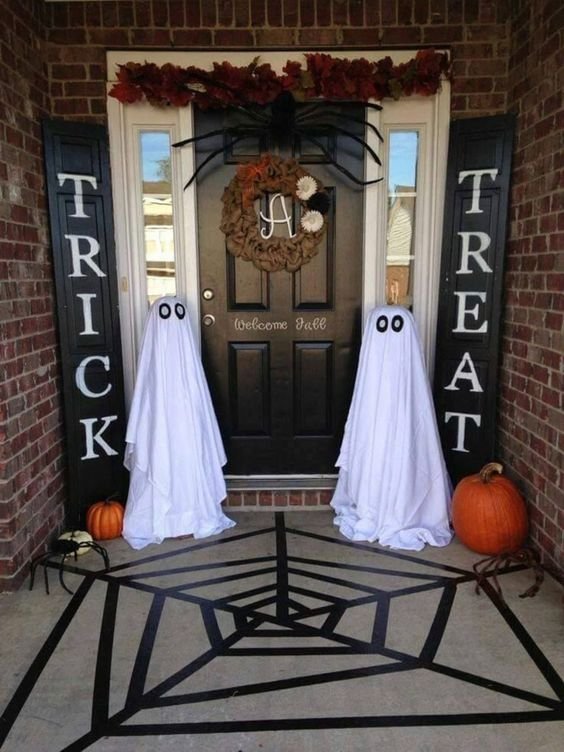
DIY Ghost crafts for outdoor
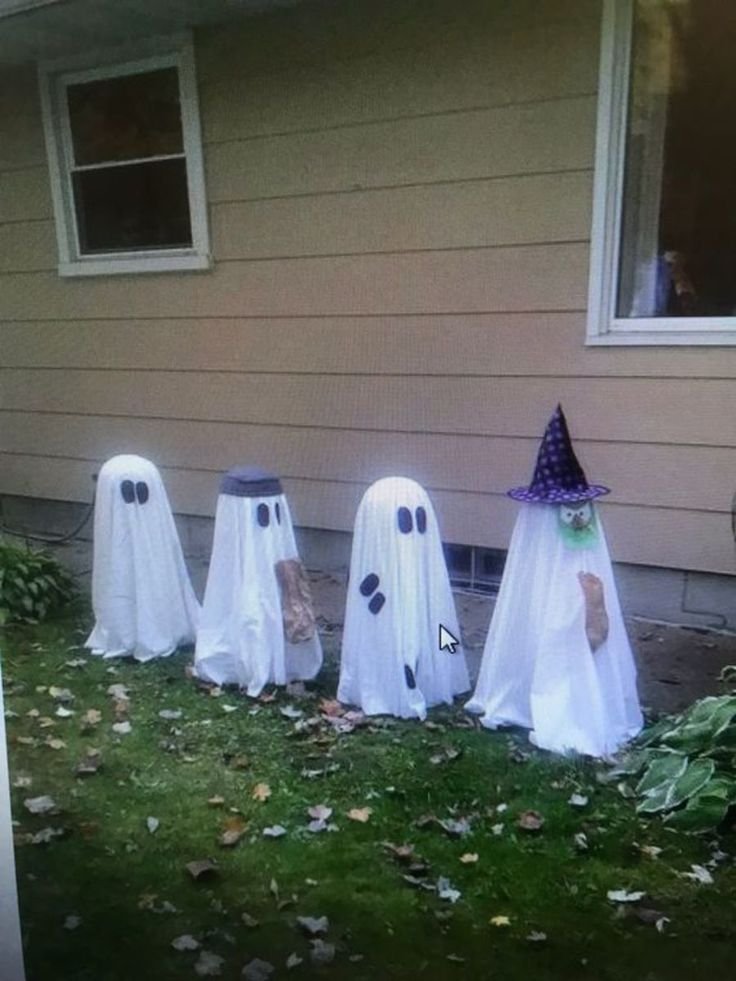
Staircase decor for Halloween
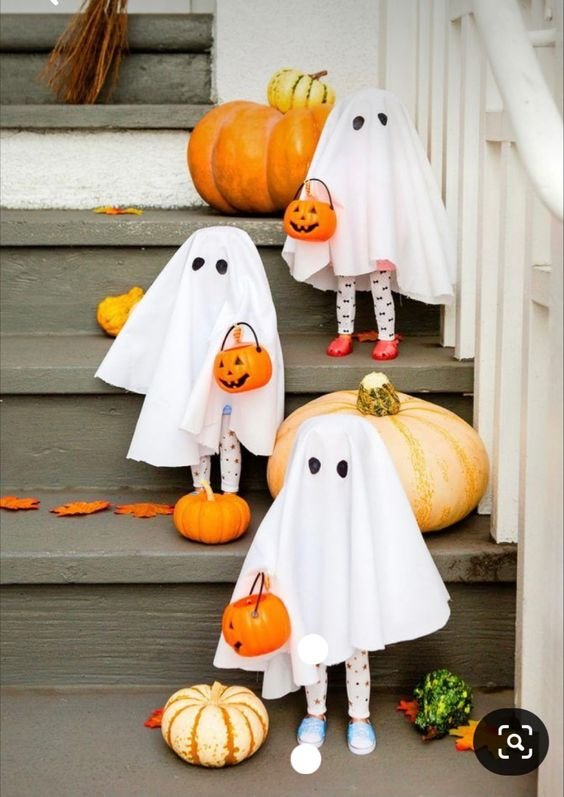
Halloween decor with props
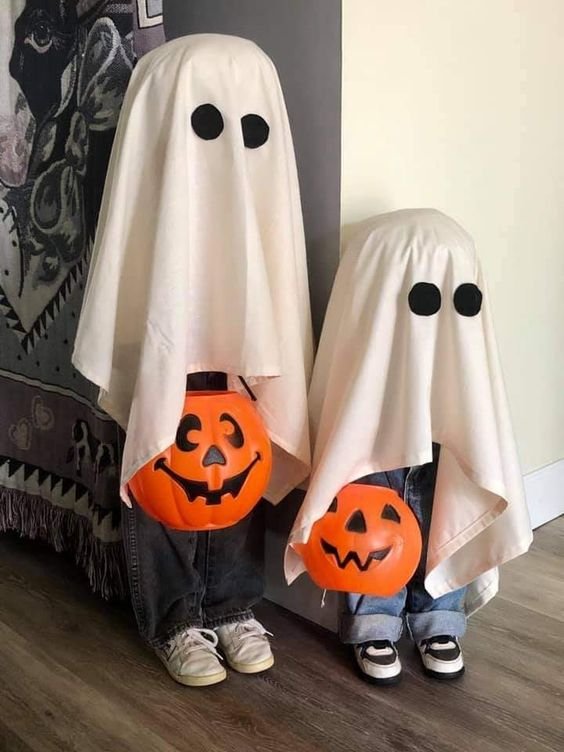
Ghost table
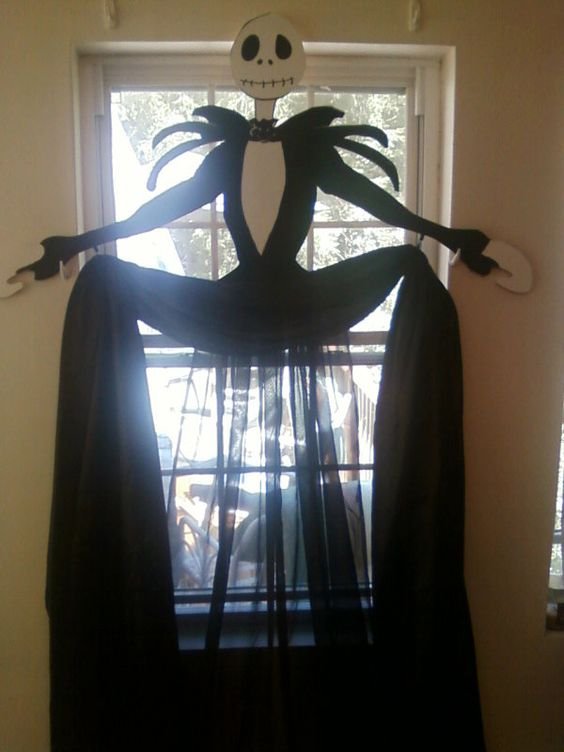
Window Jack Skellington curtain
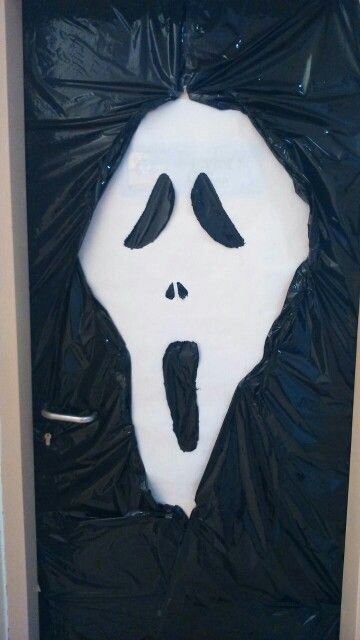
Halloween door decor
This is super easy to do. All you need is decorate the door using trash bags and its done in no time.
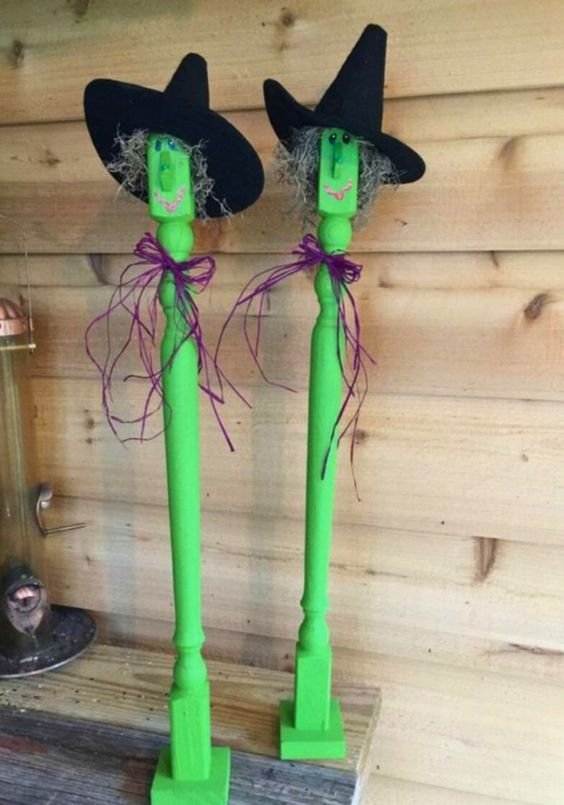
Spooky witch decor
If you have old broken stairs handles in the garage, you can simply paint those in green or purple colors and make eyes, nose and mouth designs over it, and top it off with a witch hat. Looks super cute for Halloween.
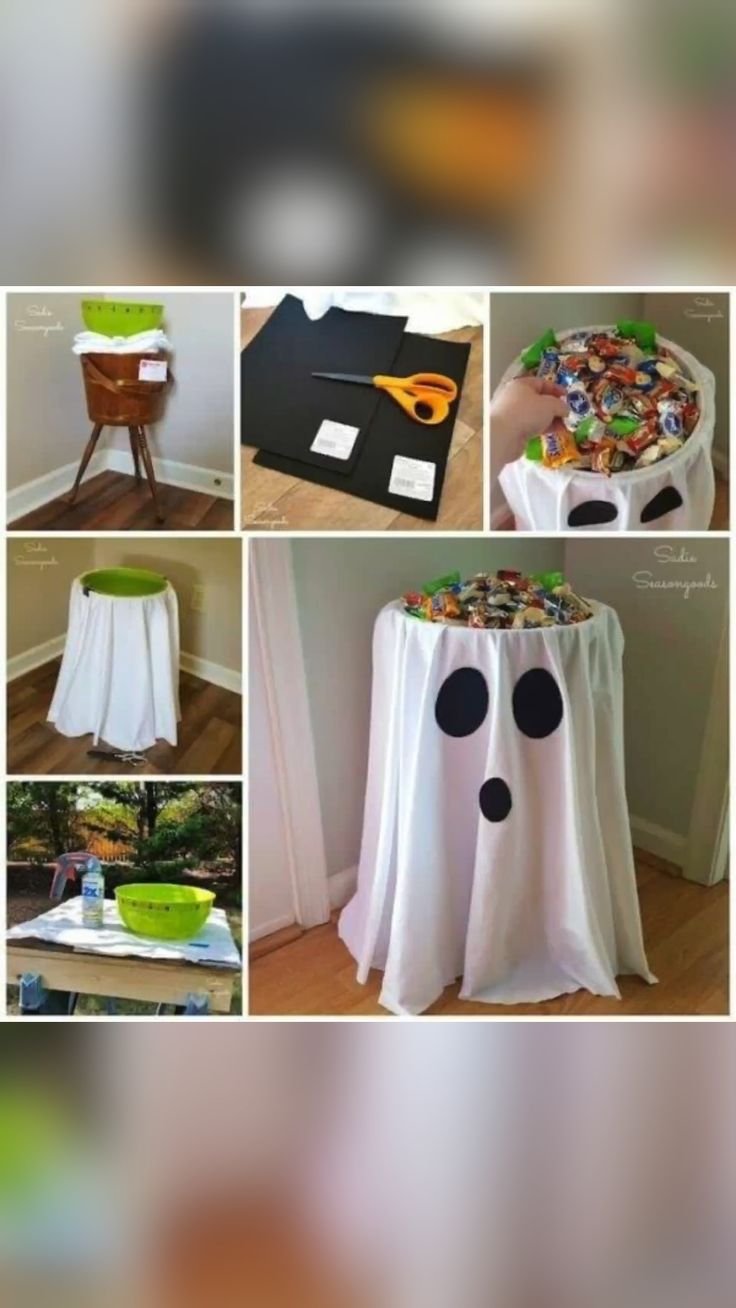
Friendly Halloween Ghost DIY for outdoor
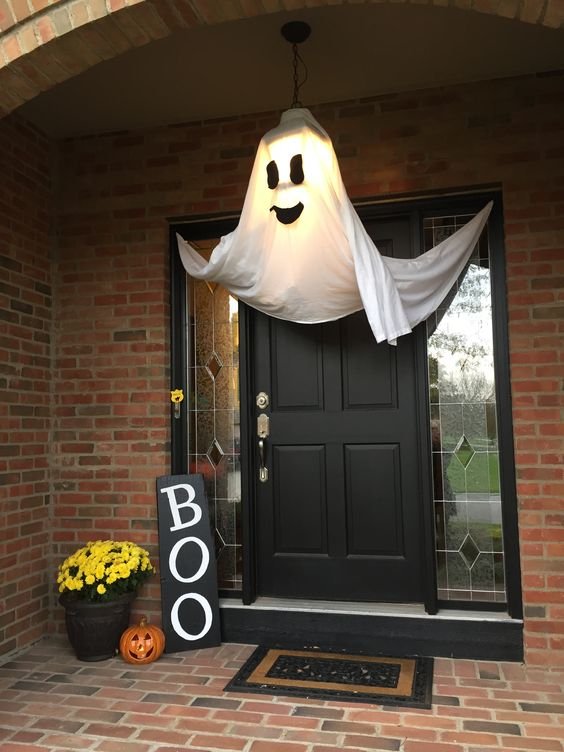
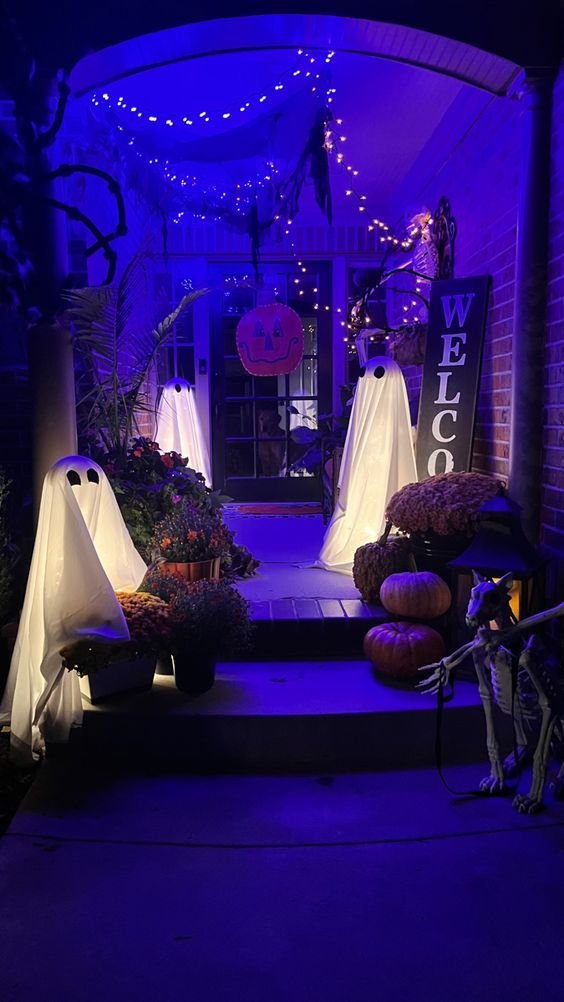
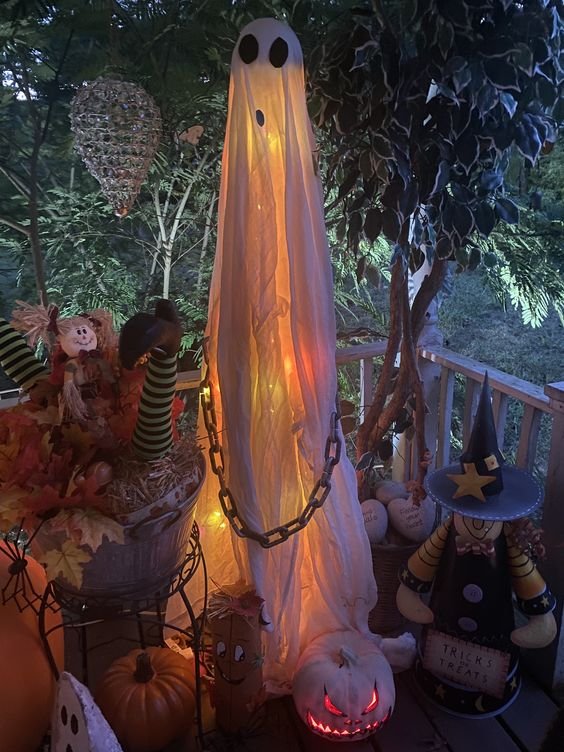
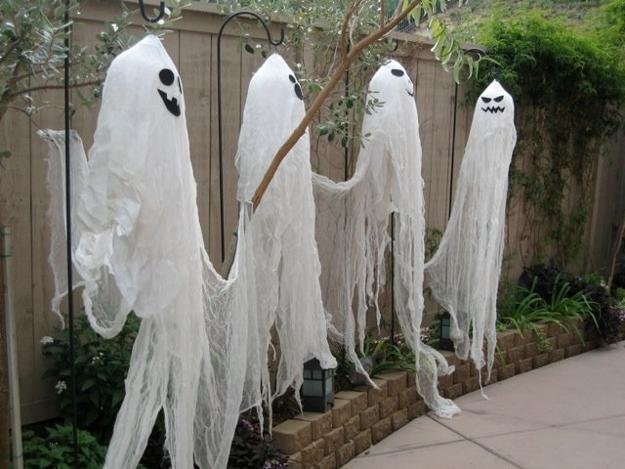
Not all Halloween decor has to be spooky and frightening. This DIY Friendly ghost looks super cute and amazing. All you need is an LED Lamp and drape over with a white cheesecloth or any white cloth would work fine. Don't forget to add the black eyes cut out and a smiley face to make this friendly ghost on your entrance >>3
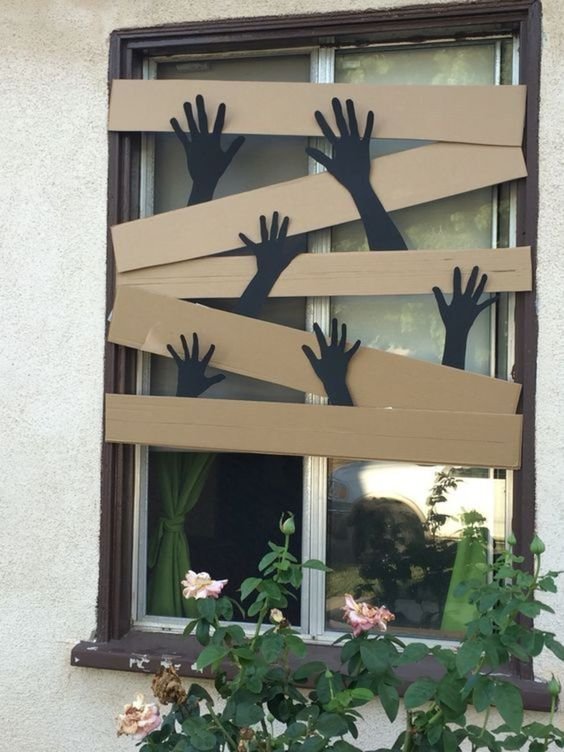
Spooky Halloween window decor
A really fun and exciting decor which uses cut out gloves which you can use and it looks super good.
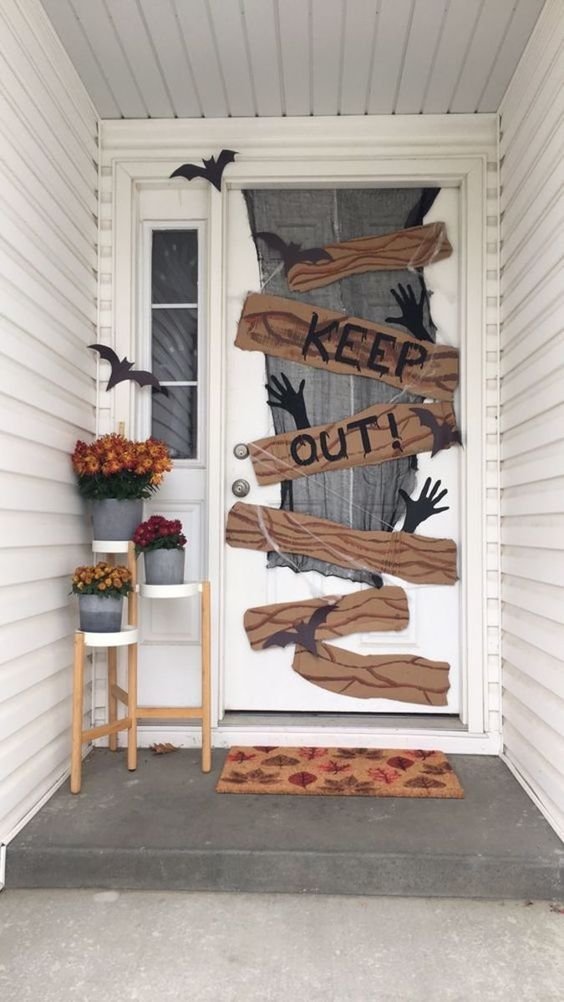
Spooky door decor
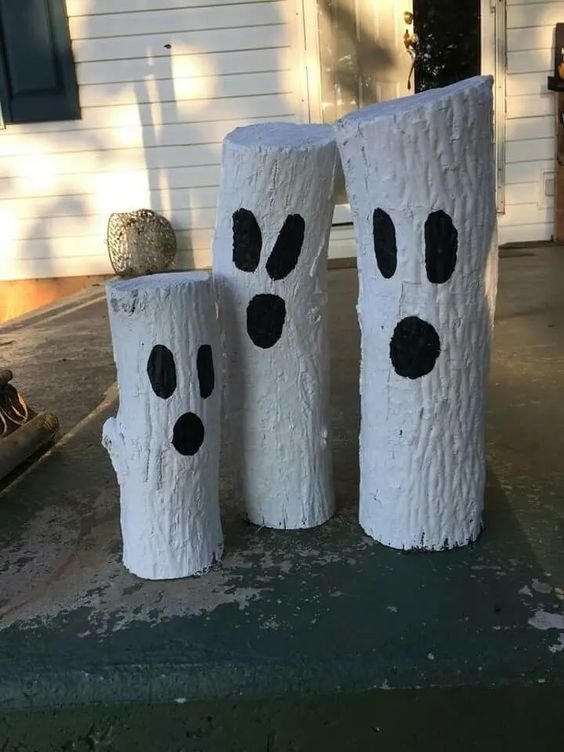
DIY Wooden tree trunks ghosts
These are so much easy and fun to do. All you need is sone wooden logs, be it of any size or shape. Just cut off the excess and paint them using white acrylic paint. Trace out eyes and mouth using black paint to make these tree trunk ghosts.
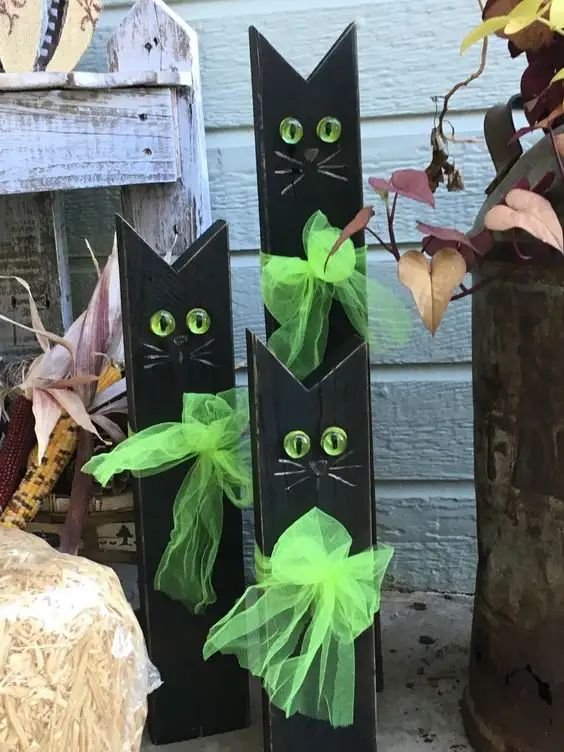
DIY Wooden cats decor
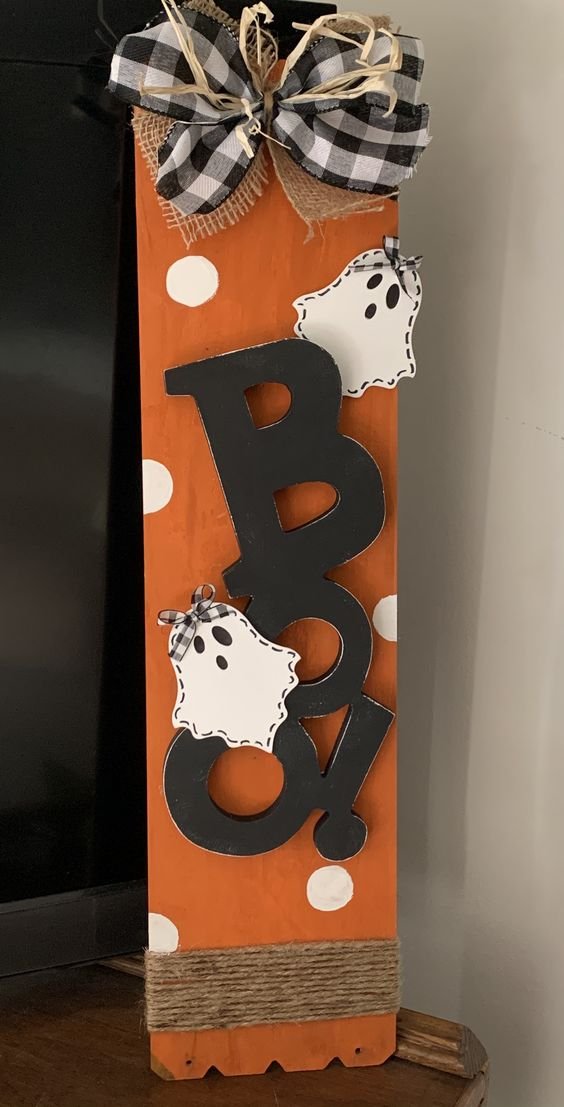
BOO Plank
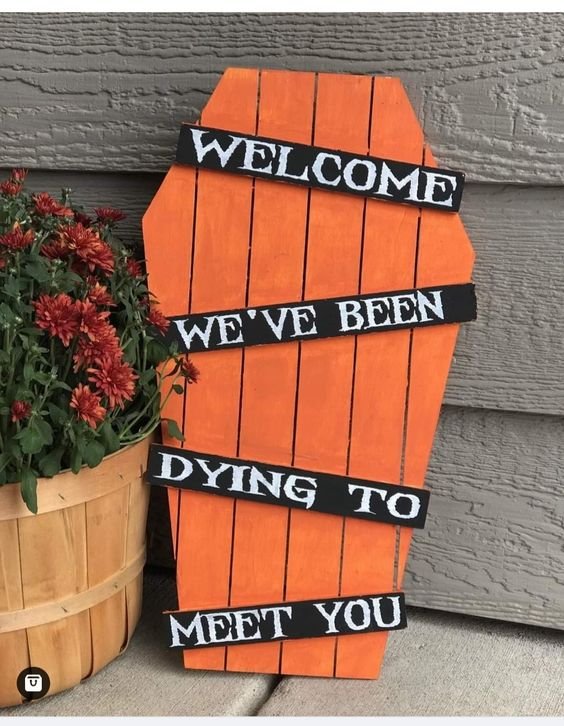
Wooden DIY Coffin board for Halloween
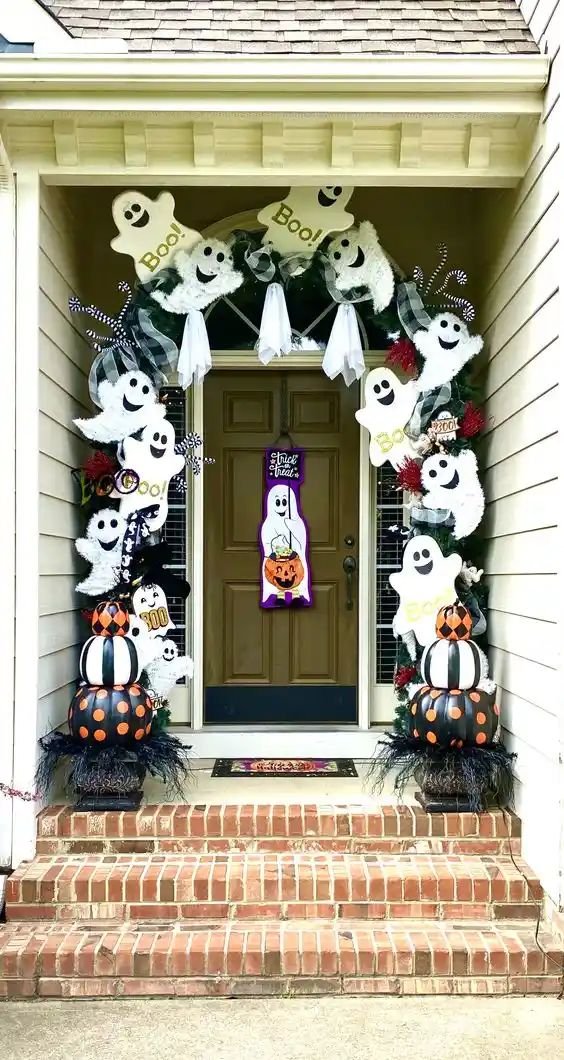
Halloween outdoor decor
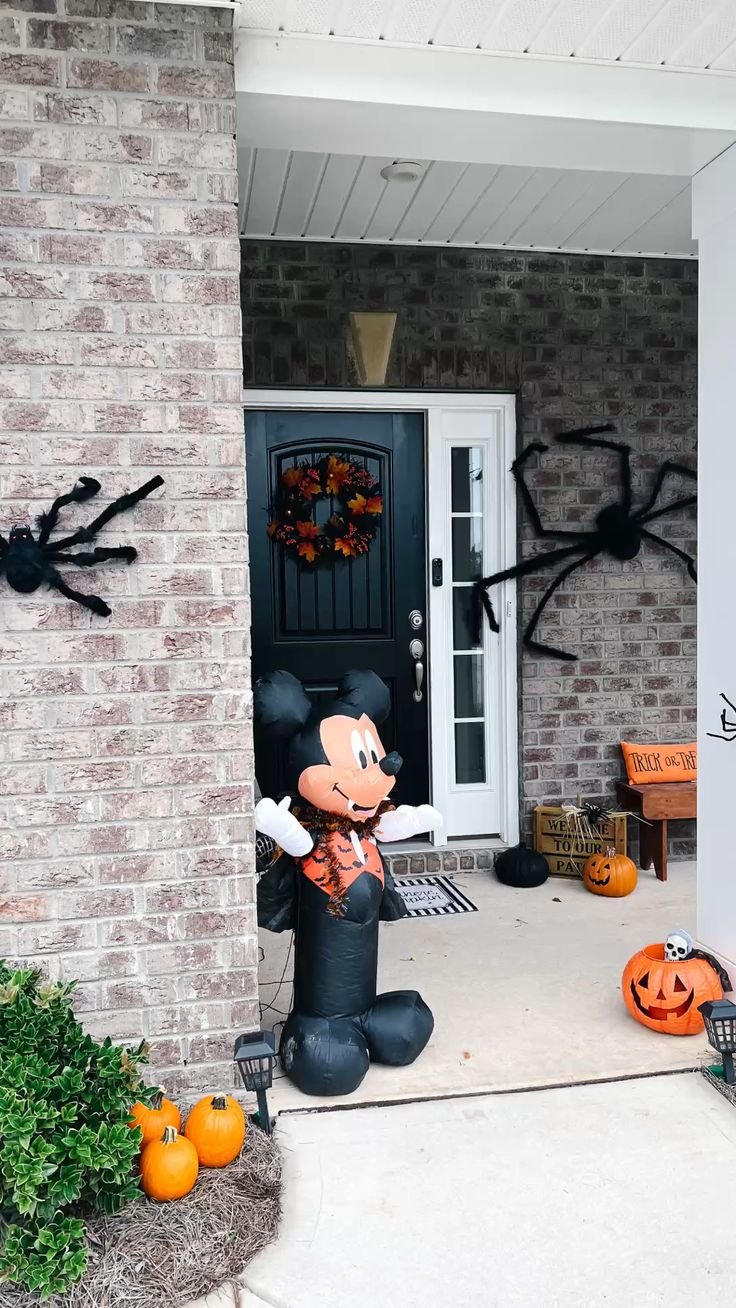
Disney Halloween Decor
Mickey Mouse themed Halloween decor is such a creative and fun idea. It just takes a sponge Mickey Mouse toy and you can use trash bags to wrap it up and give it a Halloween look.
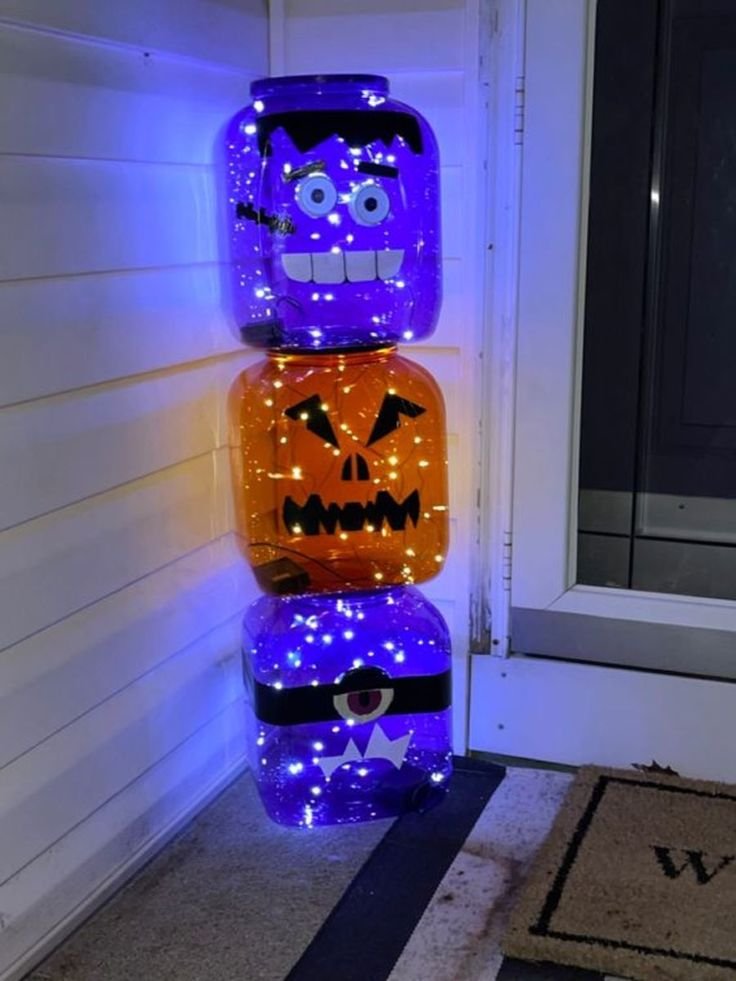
Halloween decor with water bottles
You can simply use leftover water bottles and decorate it using markers to trace out faces. Then add some lights into it to make the perfect decor.
Ghost decor
Haunted tree for outdoor
Spooky porch entrance
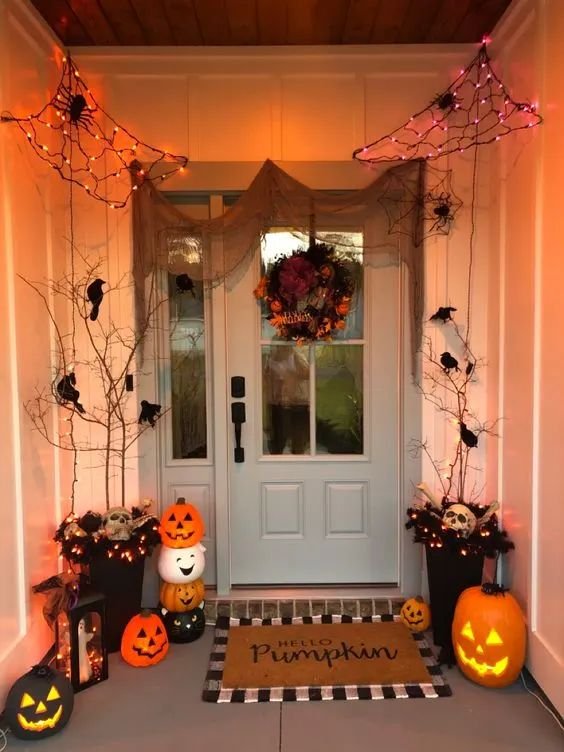
Cute Halloween front door entrance
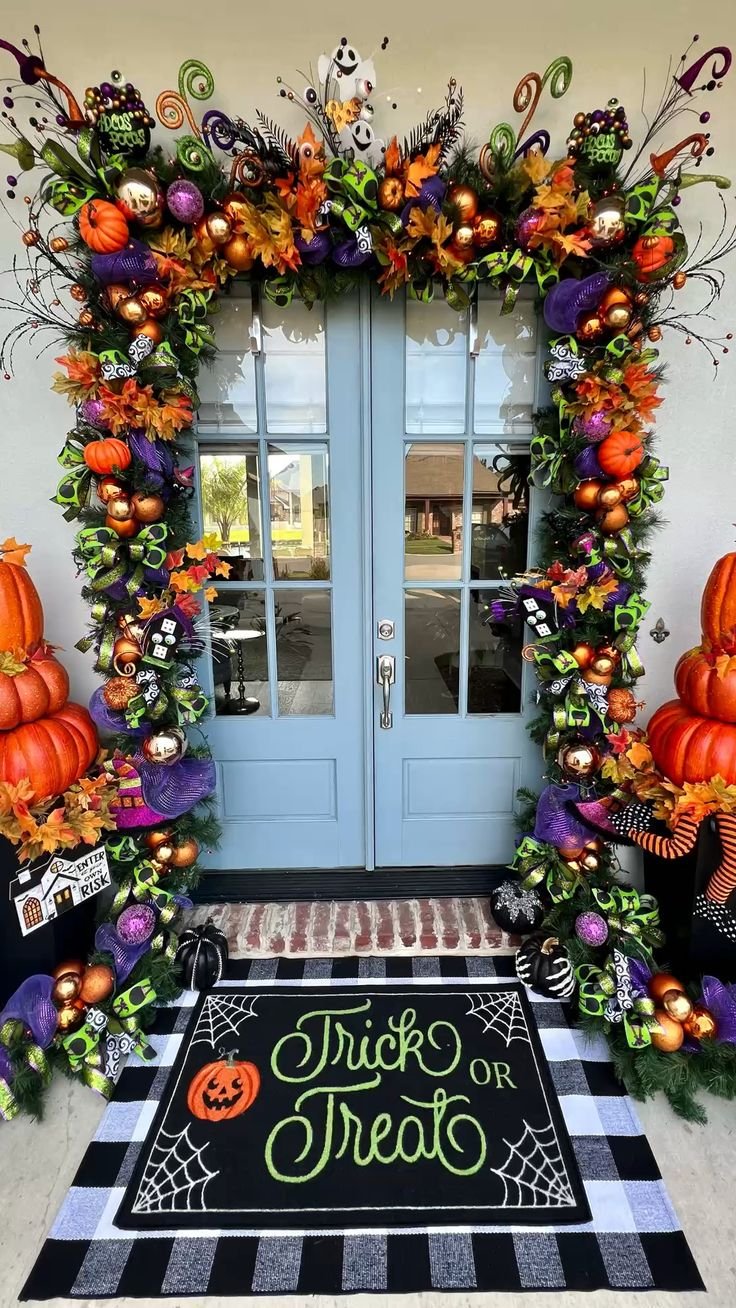
Halloween outdoor decor
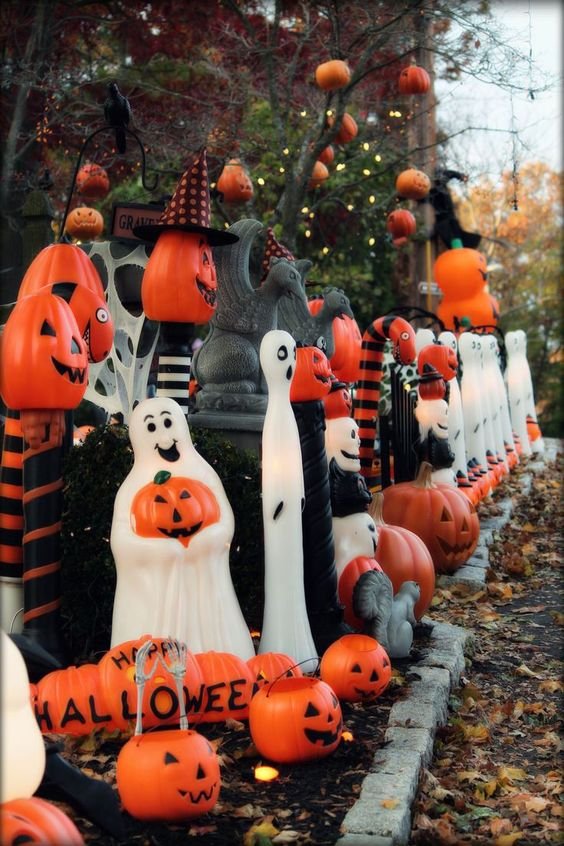
Halloween Tree
Just reuse old Halloween Pumpkin trick or treat baskets and tie them up to the largest tree in your yard to make this Halloween Tree.
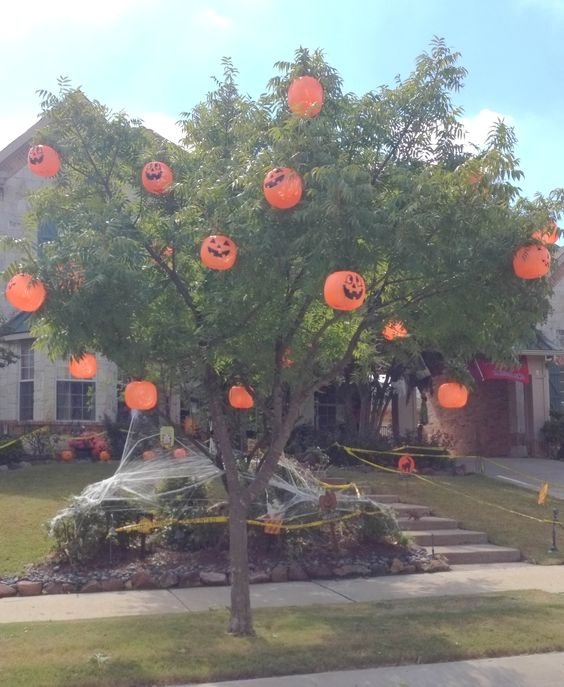
Hanging Jack O Lanterns
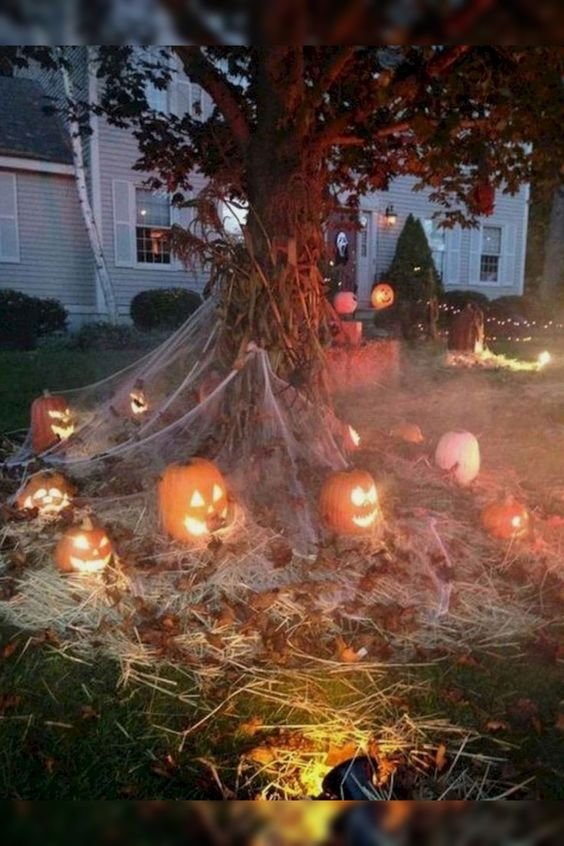
You can simply use some dollar tree pumpkin trick or treat baskets and hang them from any big tree in your front yard. They look super spooky and fun.
Another great idea would be to add some LED Solar lights to these baskets, so that they glow up post sunset and looks super amazing.
Halloween entrance
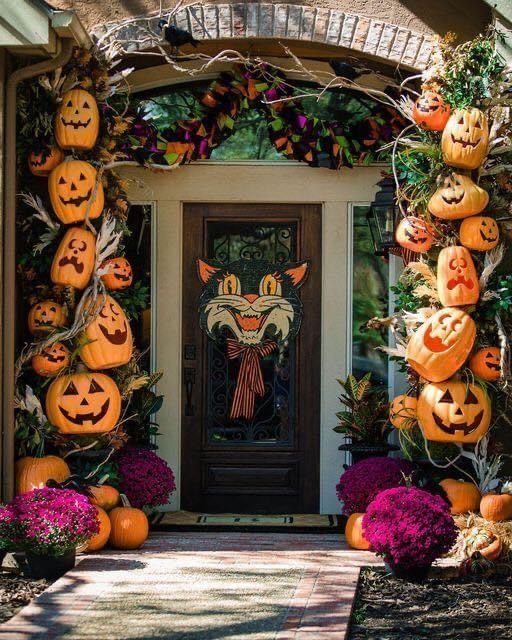
Best Halloween Outdoor decor
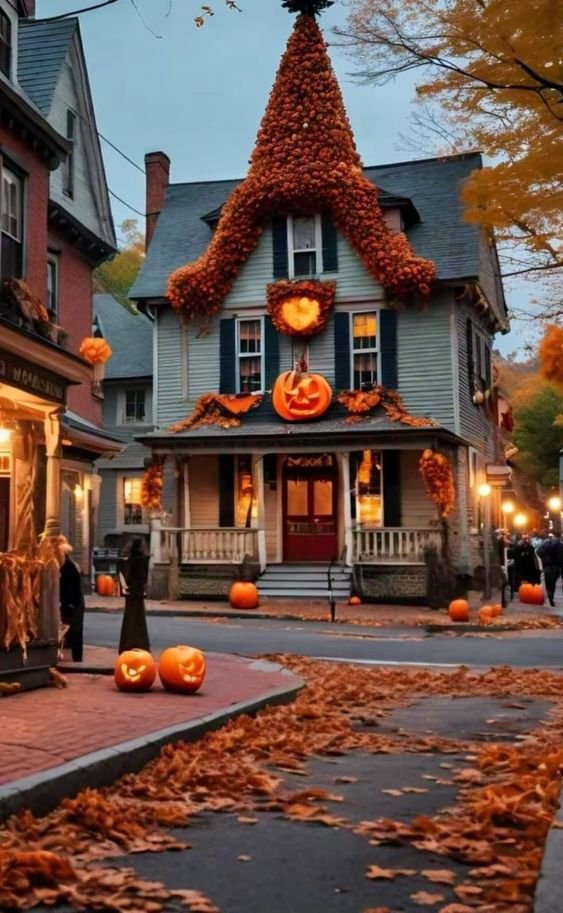
Scarecrow for Fall
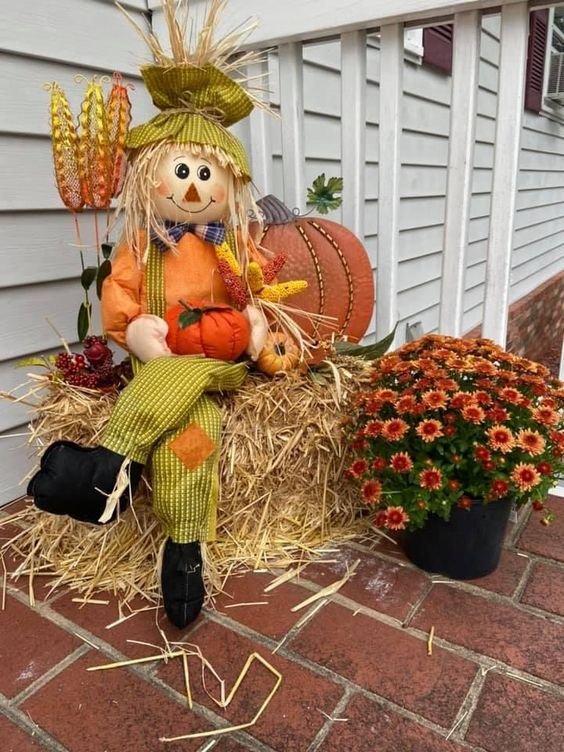
Halloween outdoor decor with witch Hats
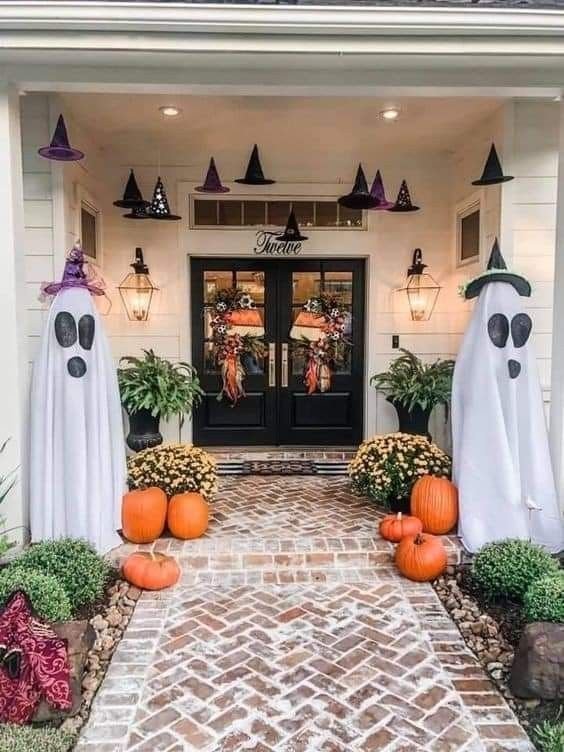
Welcoming Witch for Outdoor Decor using props
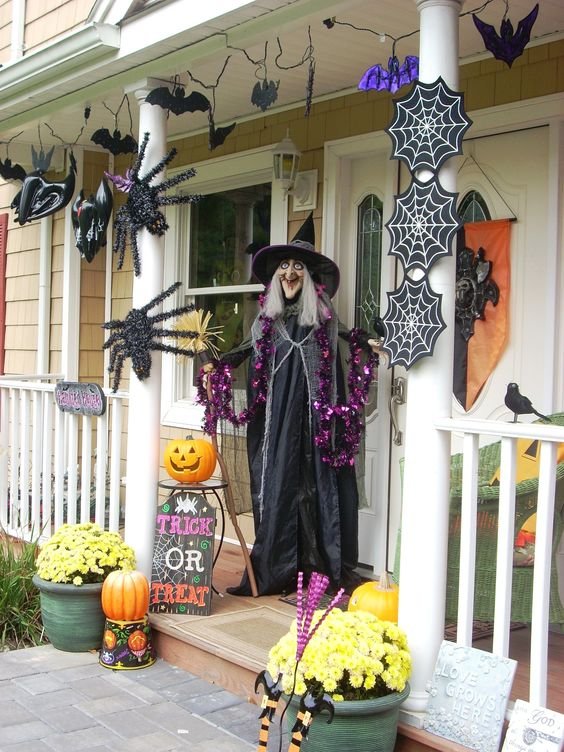
Simple outdoor decor
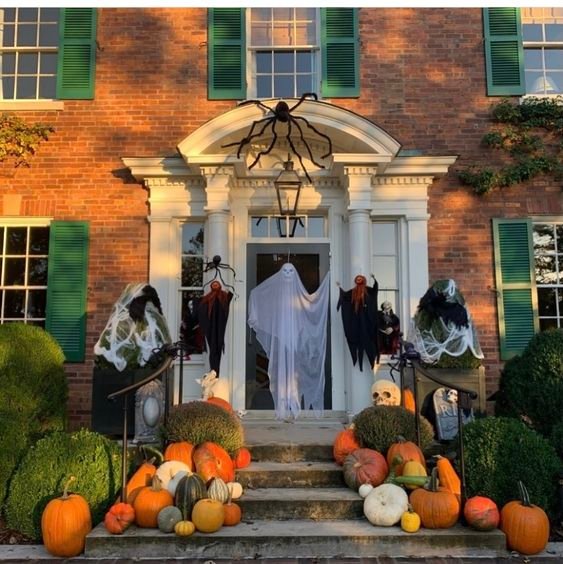
Witchy Halloween outdoor
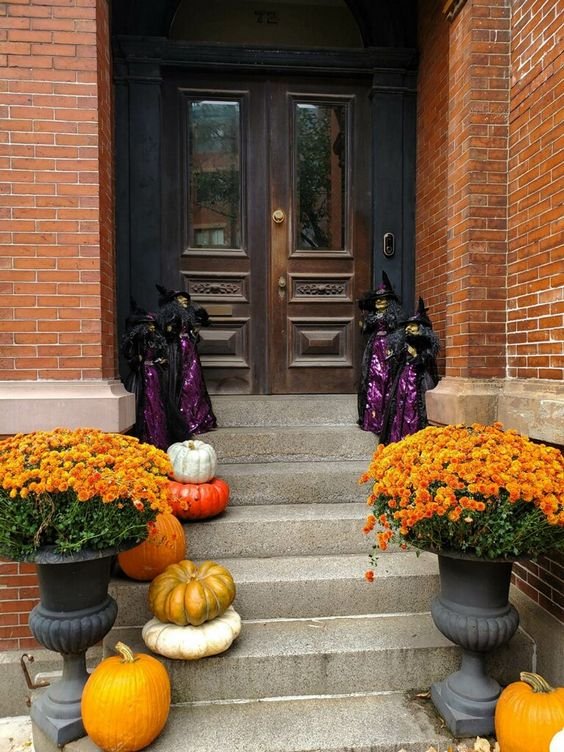
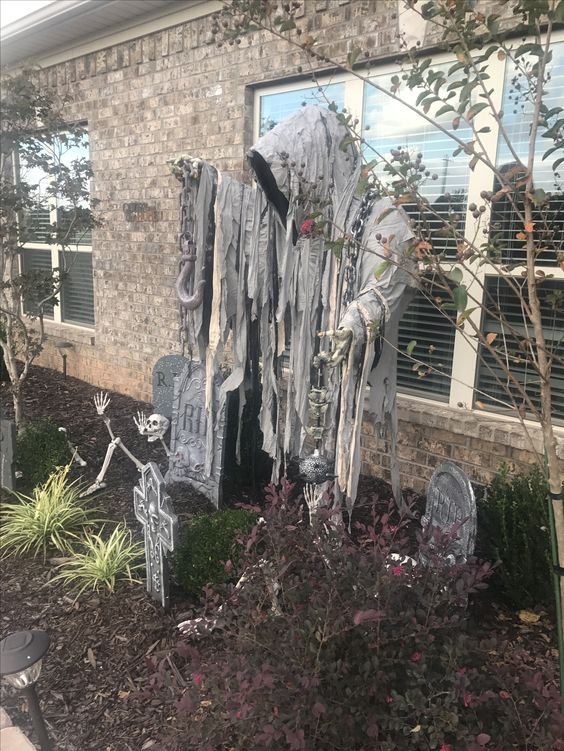
Halloween decor with fake graveyard stones
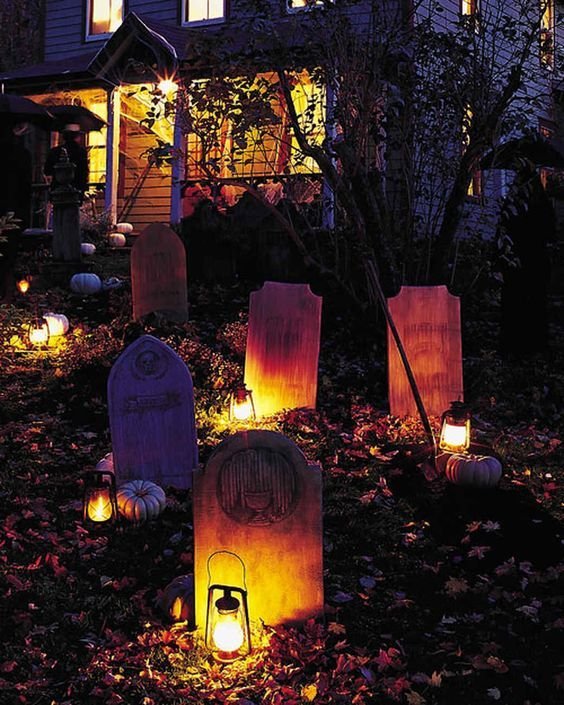
Spooky October outdoor decor
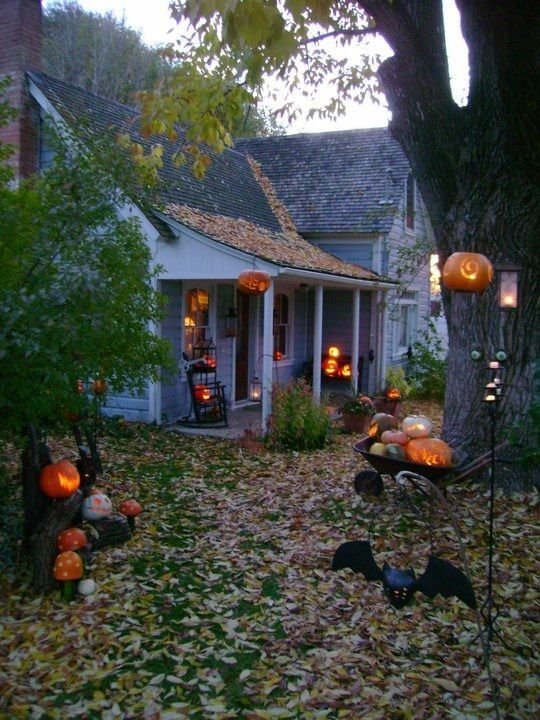
Decor with props
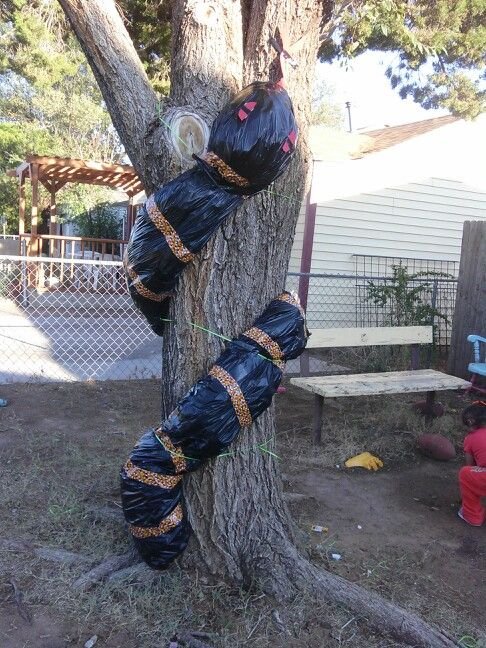
Giant Snake Halloween decor
Super spooky Halloween outdoor
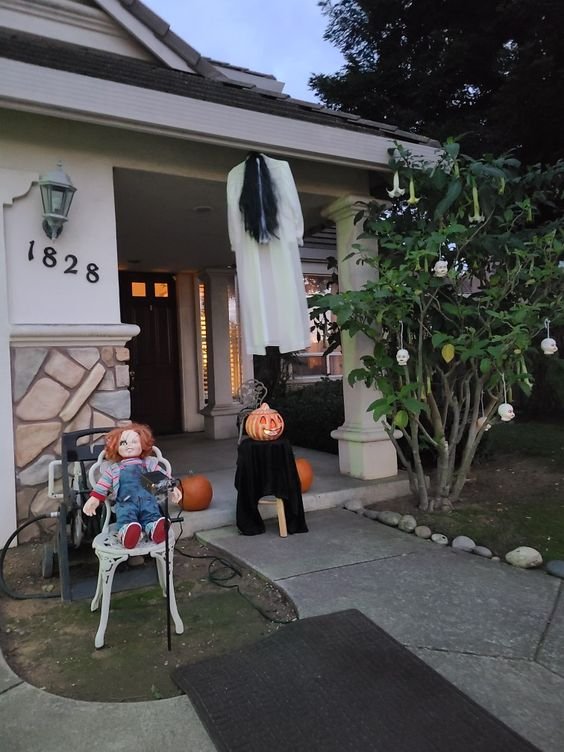
DIY Spiderweb for yard
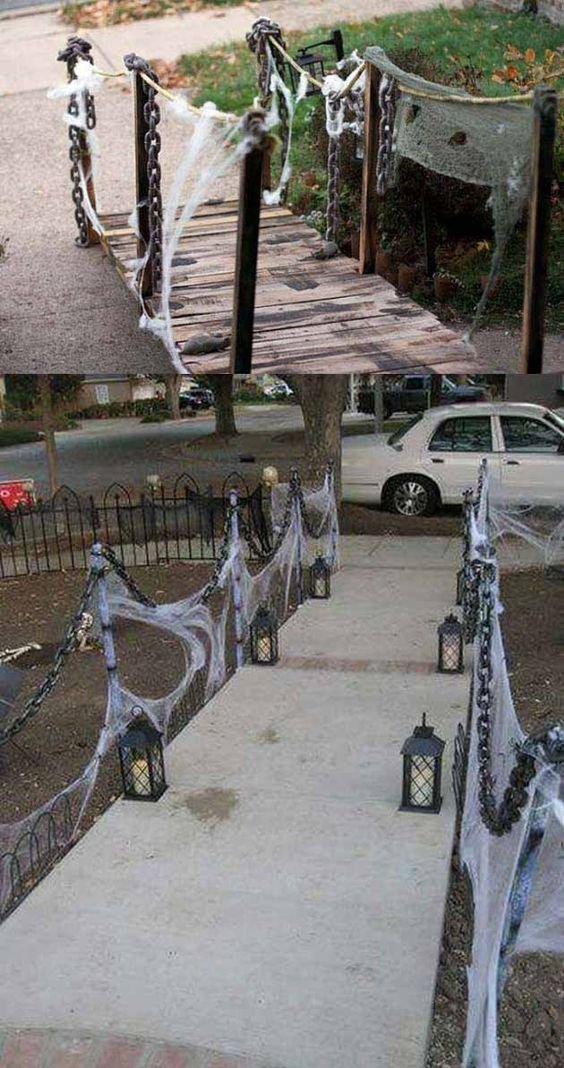
DIY Ghost decor for outdoor
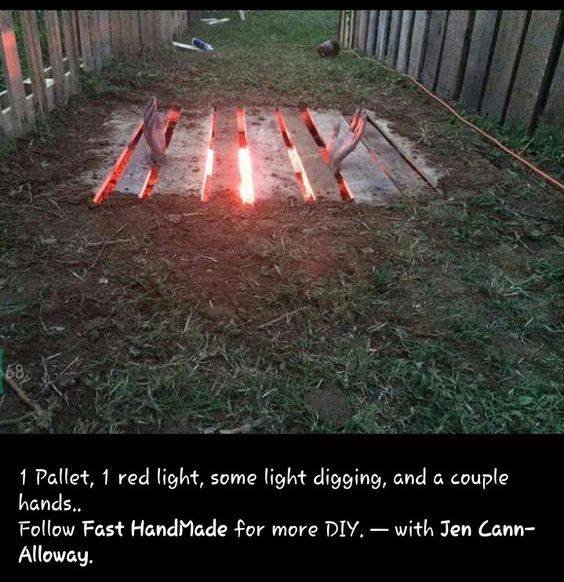
Pallet wood decor
Halloween decor using bandages as spiderwebs
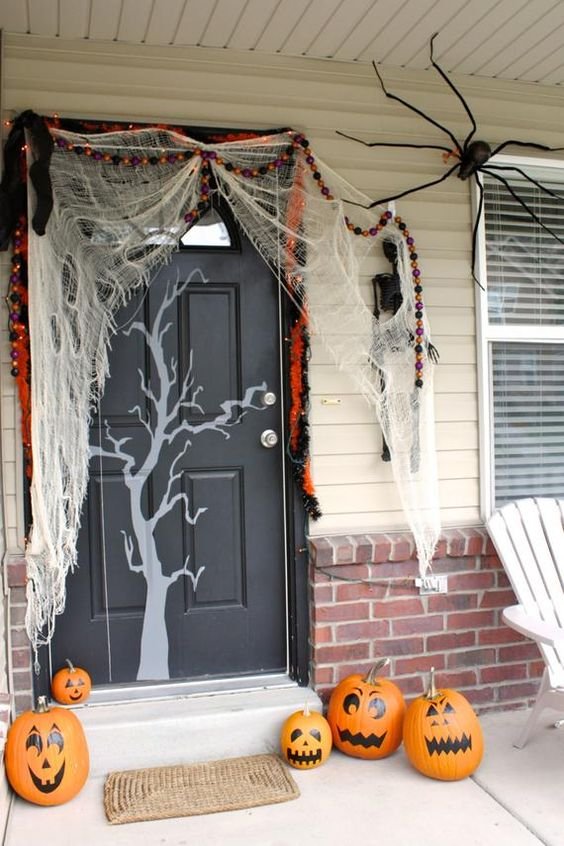
Halloween tomato cage topiaries
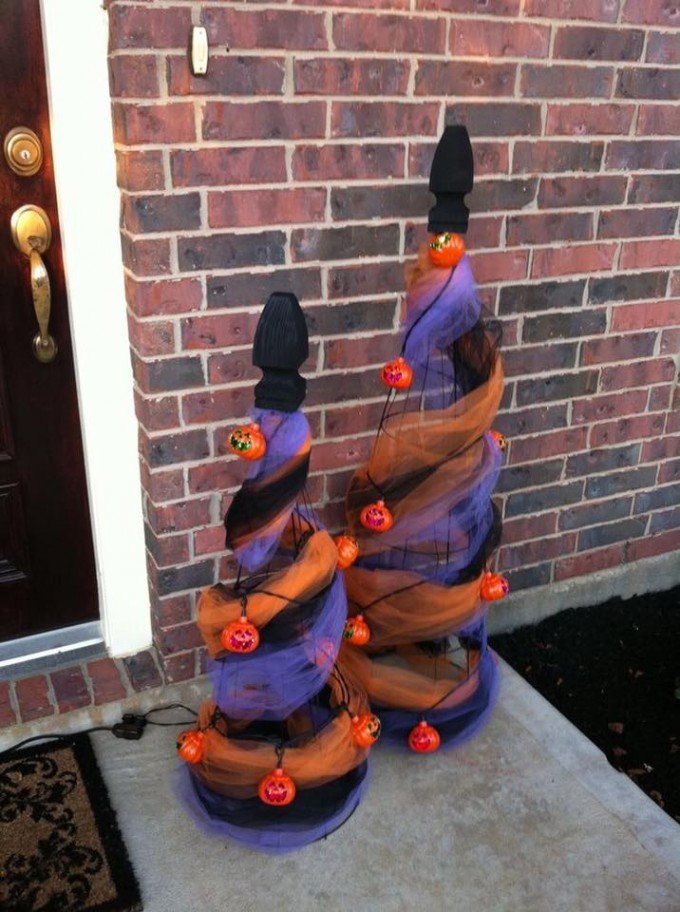
Yard decor with props
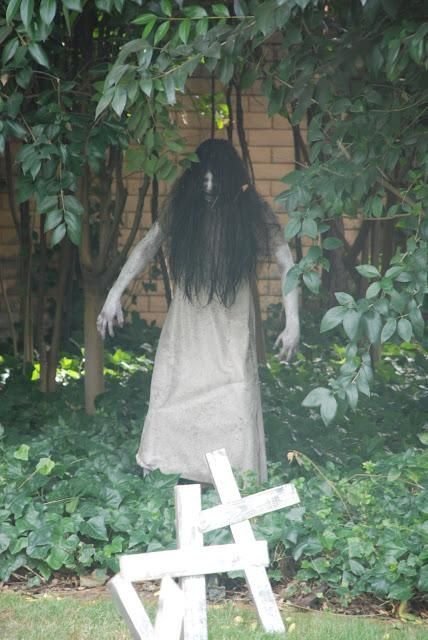
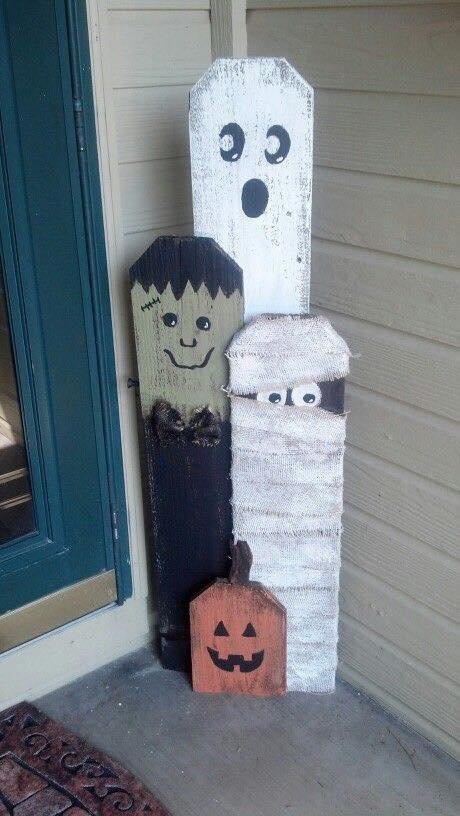
Wooden crafts for Halloween
DIY Ghosts for yard entrance
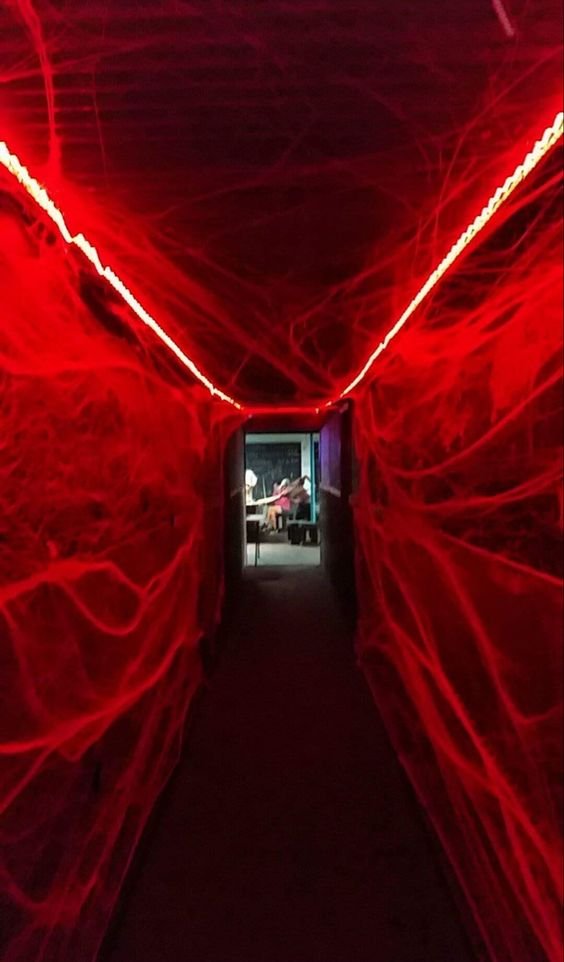
DIY Neon Lights Halloween Entrance Tunnel
Creating a neon light entrance transforms your front doorway or hallway into an immersive, haunted-house experience. The intense red and neon glow reflected off stretched spiderwebs produces a futuristic, eerie atmosphere that immediately grabs attention from the sidewalk.
Materials Needed:
- Red or Neon Green Outdoor LED Flexible Neon Rope Lights (15–20 feet)
- Gutter Hooks or Heavy-Duty Outdoor Command Clips
- White or Black Stretched Spiderweb Cotton
- Extension Cords & Outdoor Surge Protector
- Black Cardstock Wall Bats or Skeleton Props (optional)
Step-by-Step Instructions:
- Outline the Archway: Install mounting clips along the ceiling and side pillars of your doorway or porch entrance frame. Secure the flexible neon rope light along the clips to form a bold geometric frame.
- Layer the Webbing: Stretch fake spiderweb cotton across the ceiling and wall panels around the neon lights. Pull the webbing thin to ensure the red glow shines through the fibers.
- Hide Cables & Power: Run extension cords discreetly along the baseboards or behind porch pillars to keep wires hidden from foot traffic.
- Add Silhouette Props: Position black bat cutouts or hanging skeletons in front of the illuminated webbing so they stand out in stark silhouette against the bright neon light.
Pro-Tip: Pair red or green neon rope lights with an ultraviolet (UV) blacklight spotlight to make white spiderwebs and ghost props glow intensely in the dark!
DIY Neon Lights Halloween Entrance Tunnel
Creating a neon light entrance transforms your front doorway or hallway into an immersive, haunted-house experience. The intense red and neon glow reflected off stretched spiderwebs produces a futuristic, eerie atmosphere that immediately grabs attention from the sidewalk.
Materials Needed:
- Red or Neon Green Outdoor LED Flexible Neon Rope Lights (15–20 feet)
- Gutter Hooks or Heavy-Duty Outdoor Command Clips
- White or Black Stretched Spiderweb Cotton
- Extension Cords & Outdoor Surge Protector
- Black Cardstock Wall Bats or Skeleton Props (optional)
Step-by-Step Instructions:
- Outline the Archway: Install mounting clips along the ceiling and side pillars of your doorway or porch entrance frame. Secure the flexible neon rope light along the clips to form a bold geometric frame.
- Layer the Webbing: Stretch fake spiderweb cotton across the ceiling and wall panels around the neon lights. Pull the webbing thin to ensure the red glow shines through the fibers.
- Hide Cables & Power: Run extension cords discreetly along the baseboards or behind porch pillars to keep wires hidden from foot traffic.
- Add Silhouette Props: Position black bat cutouts or hanging skeletons in front of the illuminated webbing so they stand out in stark silhouette against the bright neon light.
Pro-Tip: Pair red or green neon rope lights with an ultraviolet (UV) blacklight spotlight to make white spiderwebs and ghost props glow intensely in the dark!
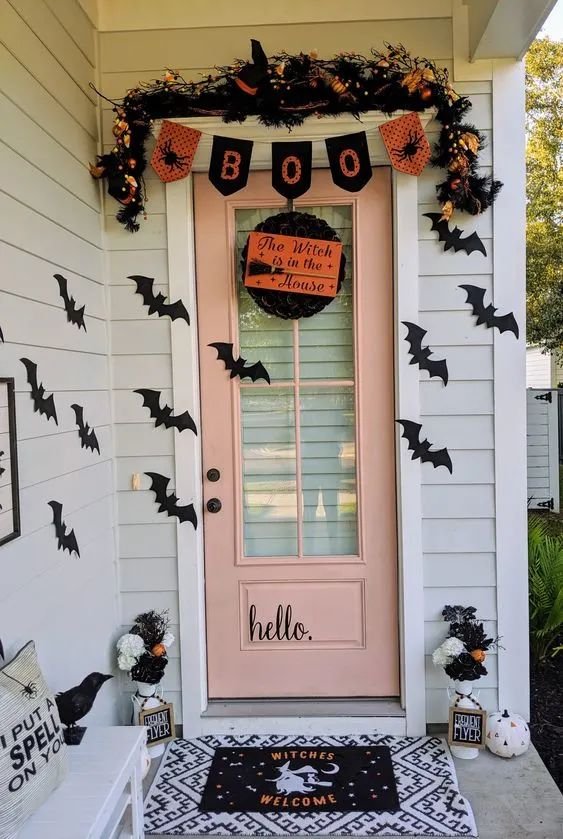
DIY Batty Halloween Front Door Entrance
Transforming your front porch with a flight of swarming bats is one of the quickest, highest-impact DIY projects for October. Arranging black bat silhouettes diagonally across your door and siding gives the illusion of a bat swarm taking flight, instantly capturing the attention of trick-or-treaters and neighbors.
Materials Needed:
- Black Waterproof Cardstock or Plastic Bat Cutouts (assorted sizes)
- Removable Outdoor Mounting Tape or Tack
- 1 Black & Orange "BOO" Pennant Banner
- Black Leaf & Tinsel Garland with Mini Witch Hats
- 1 "The Witch Is In" Door Sign or Wreath
Step-by-Step Instructions:
- Frame the Doorway: Drape a thick black tinsel or artificial leaf garland along the top archway of the front door, tucking in mini witch hat accents at the top corners.
- Hang the Banner & Sign: Center a burlap or cardstock "BOO" pennant banner right below the top garland, and secure your witch-themed sign directly onto the center glass panel of the door.
- Prep the Bats: Fold each black bat cutout slightly down the middle along the spine to create a 3D flying effect with raised wings.
- Create the Flight Path: Apply outdoor-safe mounting tape to the back of each bat. Begin placing the smallest bats near the bottom left corner of the siding, gradually scattering larger bats diagonally upward across the door to mimic a realistic swarm taking flight into the night sky.
Pro-Tip: Use waterproof PVC or plastic bat cutouts instead of paper cardstock so humidity and rainy October weather won't cause the wings to droop or lose their shape!
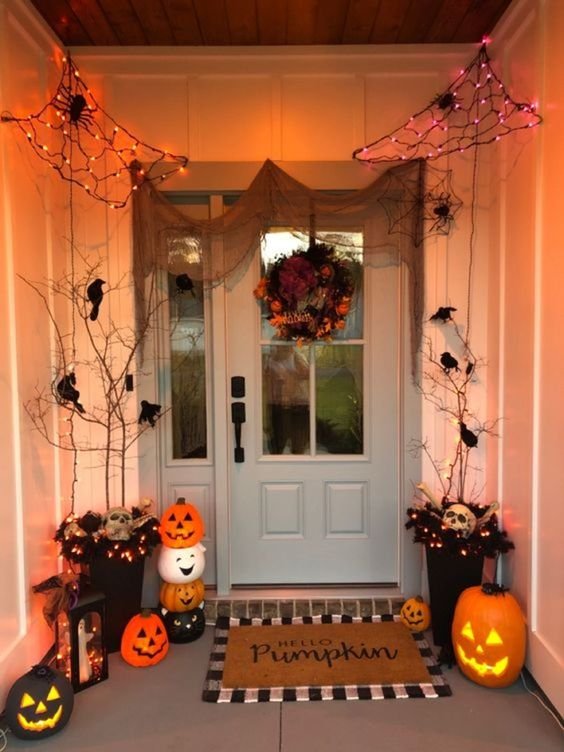
Spooky Halloween Porch
Spooky Halloween Porch Entryway Framing your front door with glowing Jack-o'-Lanterns and eerie silhouette props turns a standard entryway into a spooky, welcoming threshold.
The contrast between warm orange pumpkins on the porch floor and purple fairy-light webbing overhead creates strong visual depth that looks magical both during the day and after dark. Set your light-up pumpkins and purple overhead lights on a 6-hour automatic outdoor timer so your porch turns on automatically at dusk without wasting energy!
So these were some really easy and cute DIY Halloween decor for Outdoor yards. These are so easy to make at home and are really cheap and budget friendly decorations which you can do at home yourself. I hope you found them interesting and shall do them for your own house this Halloween. Happy Halloween!
Ask Me Anything