

Rock painting is a fascinating and ancient art form that has captivated people for thousands of years. It involves applying pigments to rock surfaces to create images or symbols, and it provides a window into the lives and beliefs of early humans.
There are two primary types of rock painting:
- Petroglyphs: These are designs or symbols carved or pecked into the rock. Imagine early artists chiseling away at the surface to leave behind their mark. Petroglyphs are often found on durable rock surfaces like cliffs or boulders, and they can be quite intricate, sometimes featuring scenes of animals, human figures, or abstract patterns.
- Pictographs: Unlike petroglyphs, pictographs are actual paintings or drawings made on rock surfaces using natural pigments. These pigments might be derived from minerals, plants, or even insects, and they’re often mixed with binders like animal fat or plant resins to help them adhere to the rock. Pictographs can vary widely, from vivid depictions of hunting scenes and daily life to abstract symbols and spiritual imagery.
Rock paintings are not just art; they are historical records. They offer us a glimpse into the past, showing us what was important to the people who created them. Whether it’s a depiction of a great hunt or a mysterious symbol, each rock painting tells a story. They also reflect the artists' environment, from the animals they hunted to the landscapes they lived in.
Exploring rock paintings can be a deeply personal experience. It’s like connecting with a distant past through a shared human impulse to create and communicate. These ancient artworks remind us of our common heritage and the diverse ways humans have expressed themselves throughout history.
Halloween Rock Painting: A Detailed Guide for every beginners
Halloween is just a fun time to decorate your home and make something amazing which looks super cute and spooky at the same time. This Halloween have fun decorating your home with some of my absolute favourite Halloween Indoor Decor, Halloween Outdoor Decor, Dollar Store Halloween decorations with tutorials which are just so much fun and also some really amazing Halloween Outdoor Yard decors.
1. Gather Your Supplies:
- Rocks: Look for smooth, flat rocks. River rocks or craft rocks work well because they have a nice surface for painting. Wash them thoroughly to remove any dirt and let them dry completely.
- Paints: Acrylic paints are ideal because they’re vibrant, dry quickly, and adhere well to rocks. You can also use paint markers for finer details.
- Brushes: Get a variety of brushes, including flat, round, and fine-tip brushes for detailed work.
- Sealant: Use a clear acrylic sealant to protect your painted rocks from the elements. This will keep your artwork looking fresh and vibrant.
- Other Supplies: A drop cloth or newspaper to protect your workspace, paper towels for cleaning, and a palette or mixing tray for your paints.
2. Prepare Your Rocks:
- Cleaning: Scrub your rocks with soap and water to remove any dirt or debris. For stubborn spots, use a brush to scrub. Rinse well and let them dry completely.
- Priming: If your rocks are very porous or uneven, consider applying a base coat of white acrylic paint. This will create a smooth surface and make your colors stand out more.
3. Design Your Rocks:
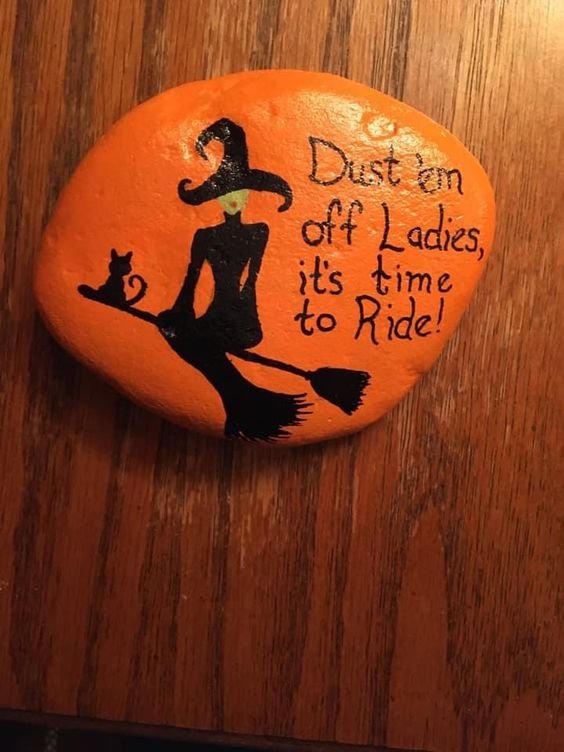
- Choose Your Designs: Think about classic Halloween themes like pumpkins, ghosts, witches, bats, or spooky sayings. Sketch your design lightly on the rock with a pencil if you want a guide.
- Painting Tips:
- Base Layer: Start by painting your rock with a base color. For example, if you’re painting a pumpkin, use orange as your base color. Allow it to dry completely before adding additional layers.
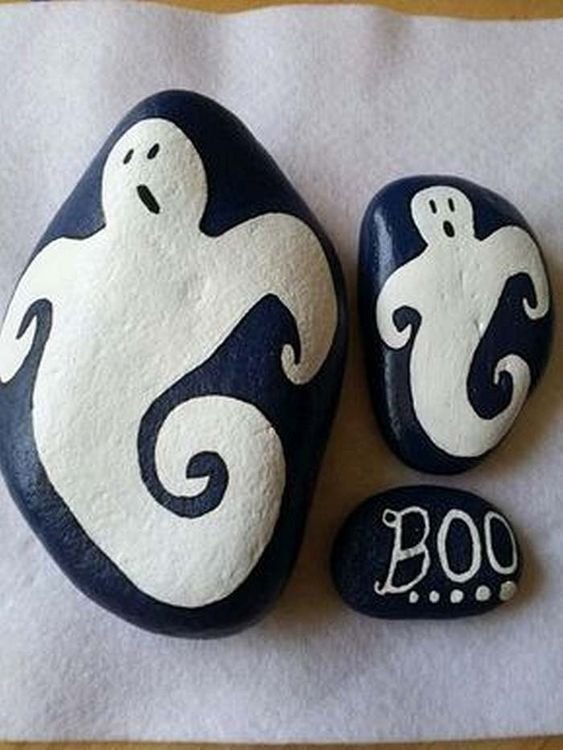
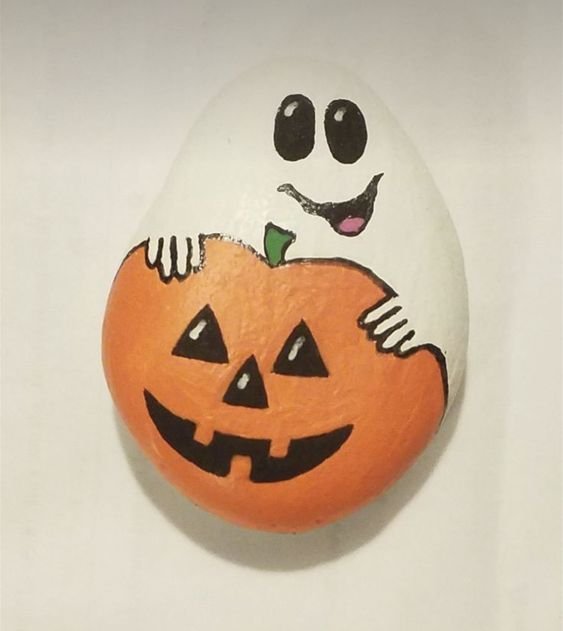
- Detail Work: Use finer brushes or paint markers for details. For a ghost, use a white base and then add features like eyes and a mouth with black paint or marker. Allow each layer to dry before adding new details to prevent smudging.
4. Painting Techniques:
- Layering: For vibrant colors, you might need several layers of paint. Let each layer dry completely before applying the next. This helps avoid mixing colors and keeps your design crisp.
- Blending: To blend colors, work while the paint is still wet. You can use a brush to gently blend two colors together on the rock for a gradient effect.
- Stenciling: If you’re not confident in your freehand skills, consider using stencils. You can buy stencils or make your own using paper or plastic sheets. Hold the stencil firmly on the rock and apply paint with a sponge or brush.
5. Sealing Your Artwork:
- Choose a Sealant: Use a clear acrylic spray sealant or a brush-on acrylic sealer. Spray sealants are easier for large rocks and can be applied in even coats. Brush-on sealers are good for more detailed rocks.
- Application: Apply the sealant in a well-ventilated area. Hold the spray can about 6-12 inches from the rock and spray in light, even coats. If using a brush-on sealer, apply a thin layer with a clean brush and allow it to dry completely.
6. Displaying or Hiding Your Rocks:
- Display Ideas: Arrange your painted rocks around your home or garden. They can be used as part of a Halloween display or as festive decorations.
- Rock Hunting: If you want to spread Halloween cheer, hide your rocks around your neighborhood. Consider adding a small note or message inviting people to take a photo and share it online.
7. Cleaning Up:
- Brushes: Clean your brushes immediately after use with water and soap if you used acrylic paints. For any leftover paint on your palette, let it dry and then scrape it off.
- Workspace: Wipe down your workspace and dispose of any used paper towels or drop cloths.
Final Tips:
- Experiment: Don’t be afraid to experiment with different techniques and colors. The more you practice, the more skilled you’ll become.
- Have Fun: The best part of rock painting is the creativity and joy you bring to the project. Enjoy the process and embrace your unique designs!
With these steps and tips, you’ll be ready to create some spook-tacular Halloween rock paintings that are sure to delight anyone who finds them!
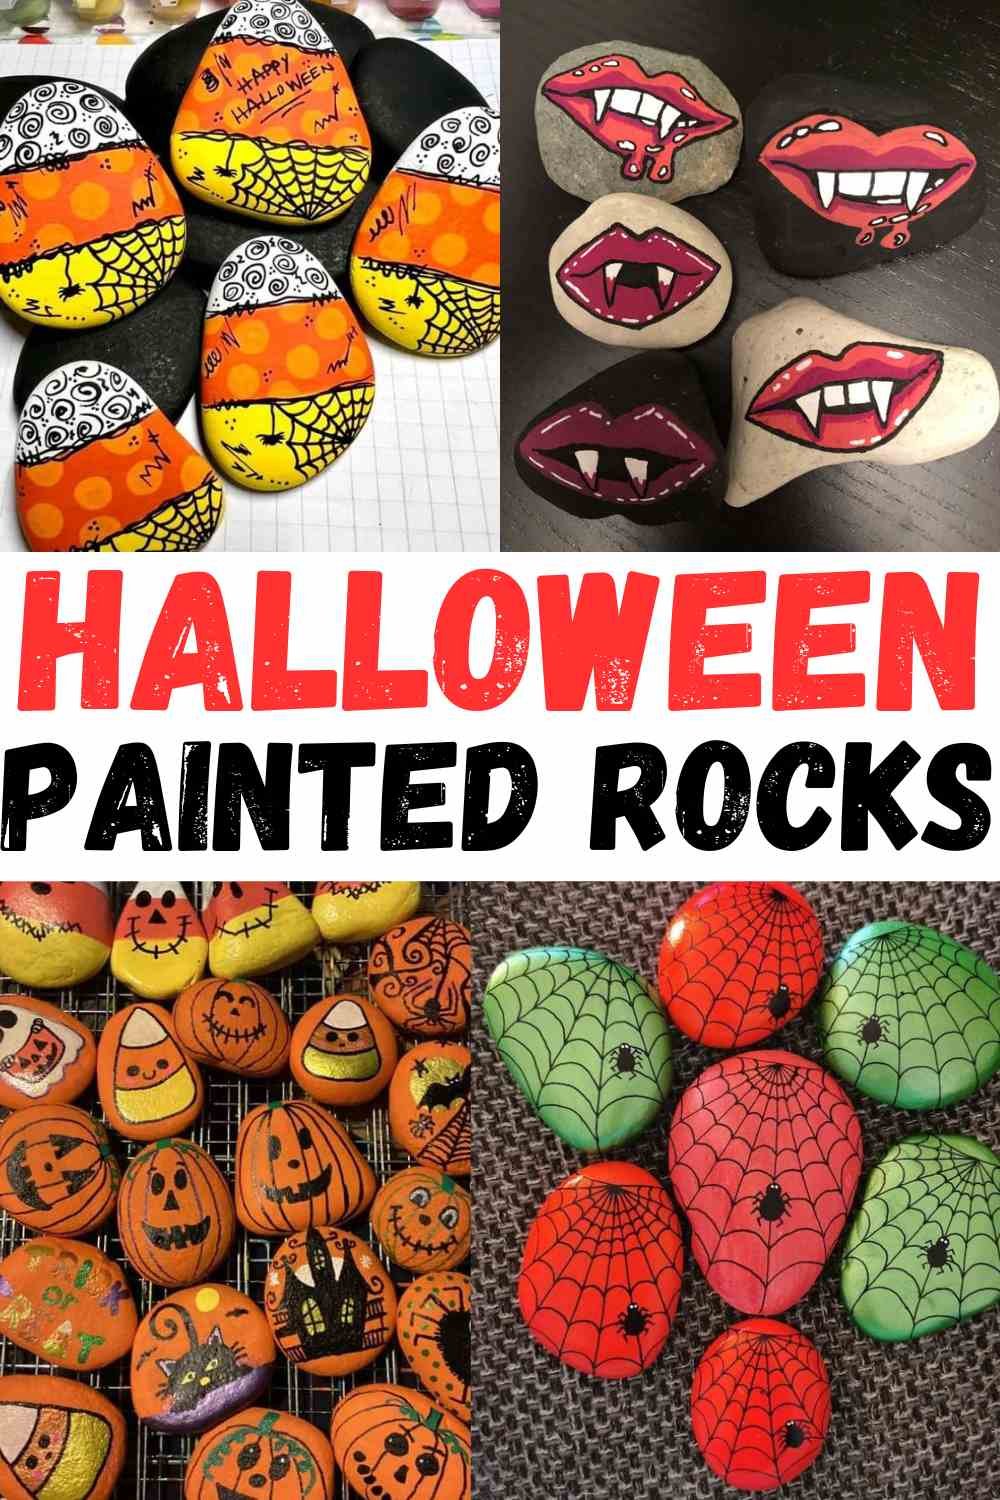
Best Halloween Rock Painting ideas
Halloween painted rocks
Spooky Halloween Rocks
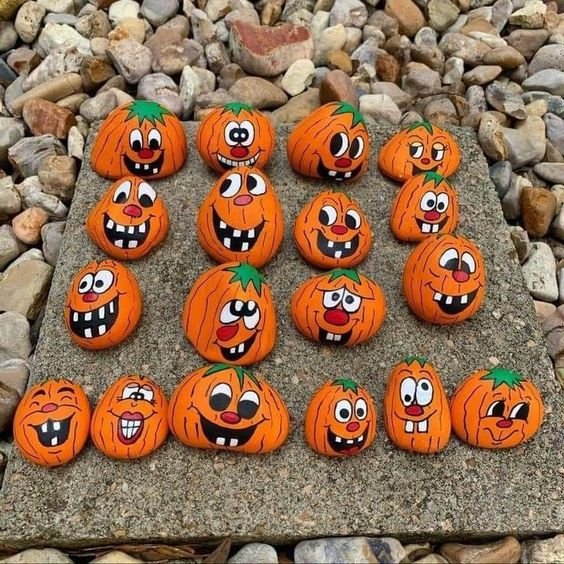
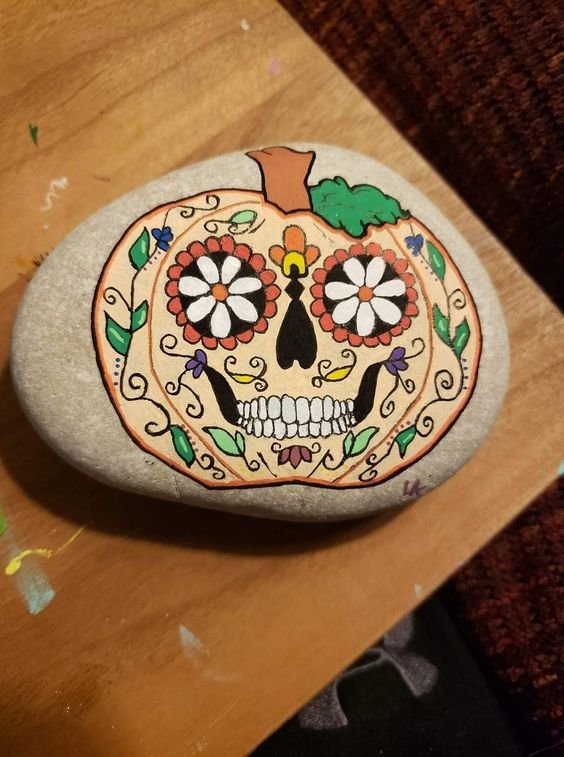
Pumpkin Rock Painting
Halloween rocks
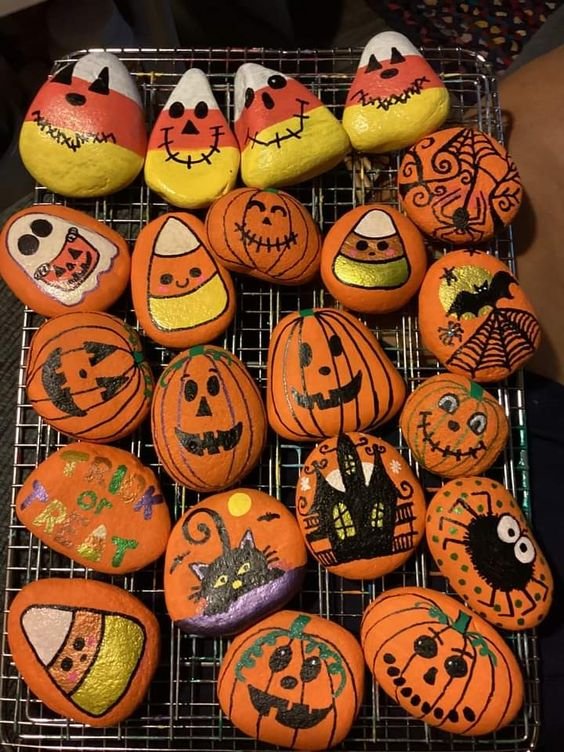
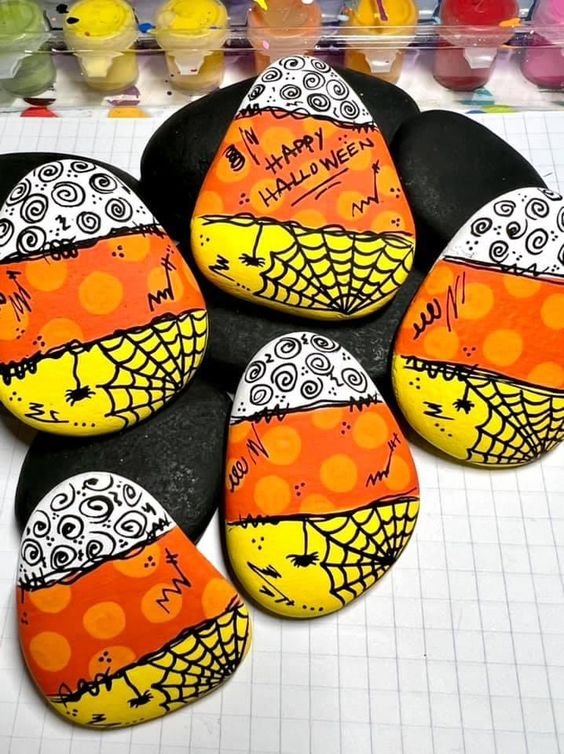
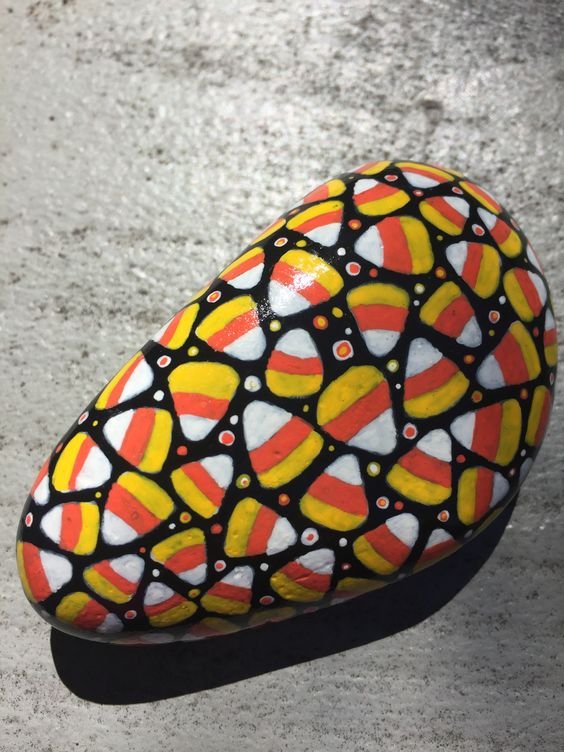
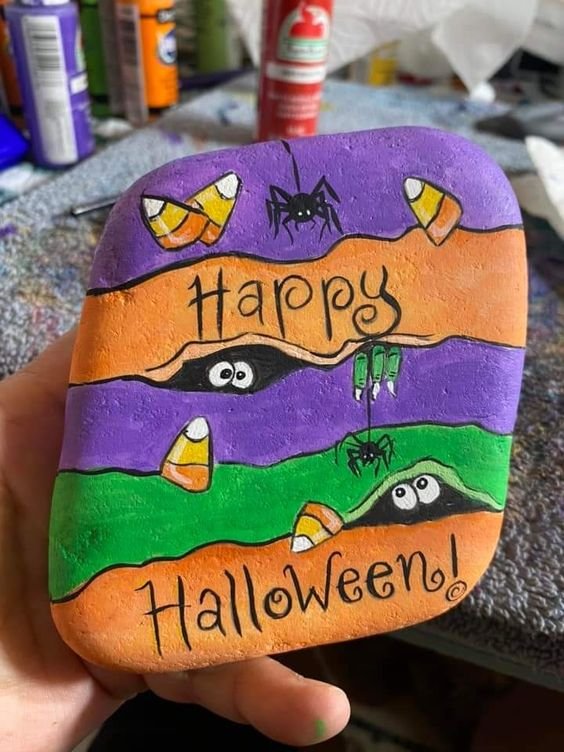
Halloween Candy Corn Rock Painting
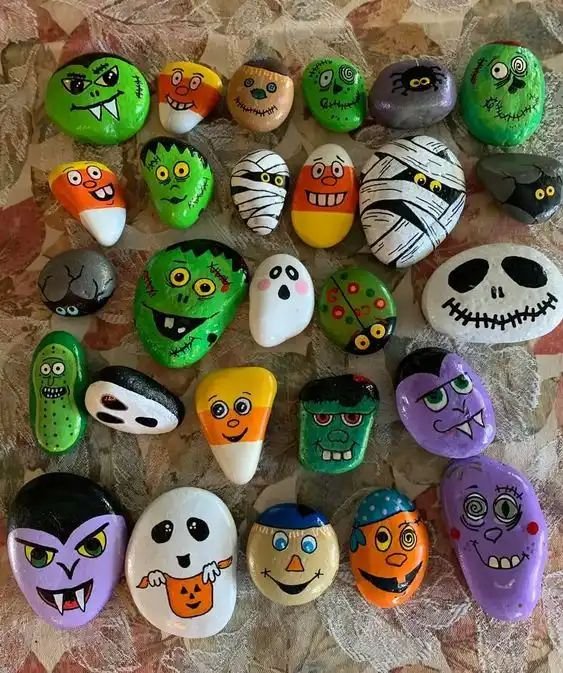
Spooky Halloween Rocks Painted
Halloween Scene rock
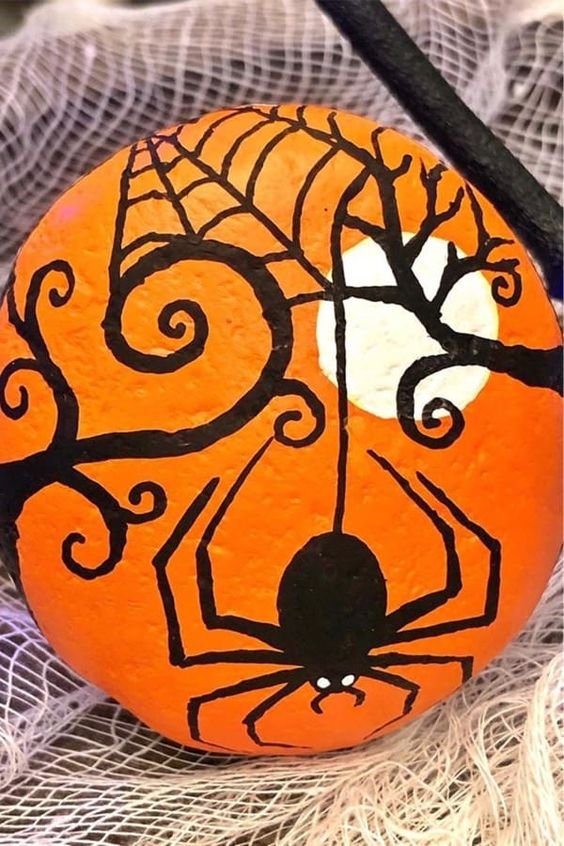
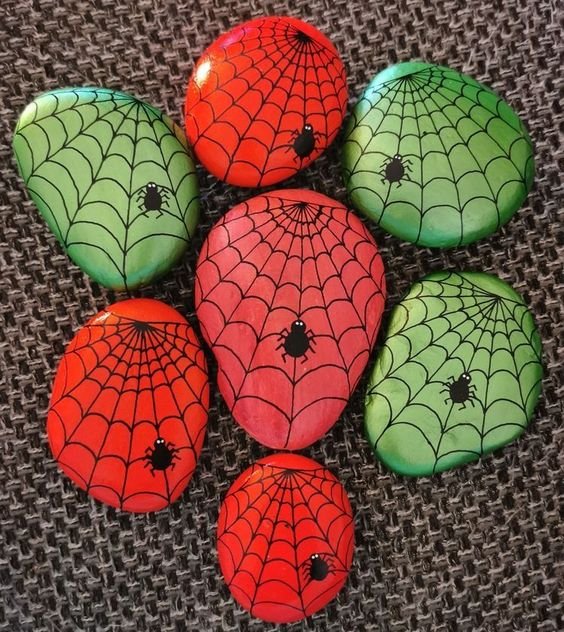
Spider Rocks
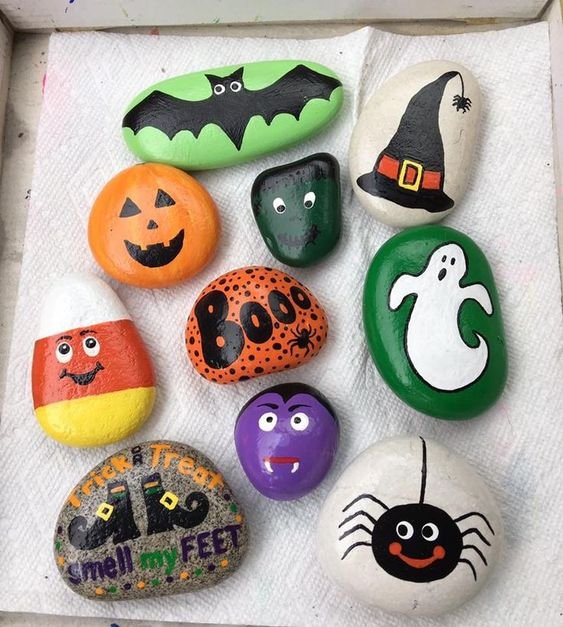
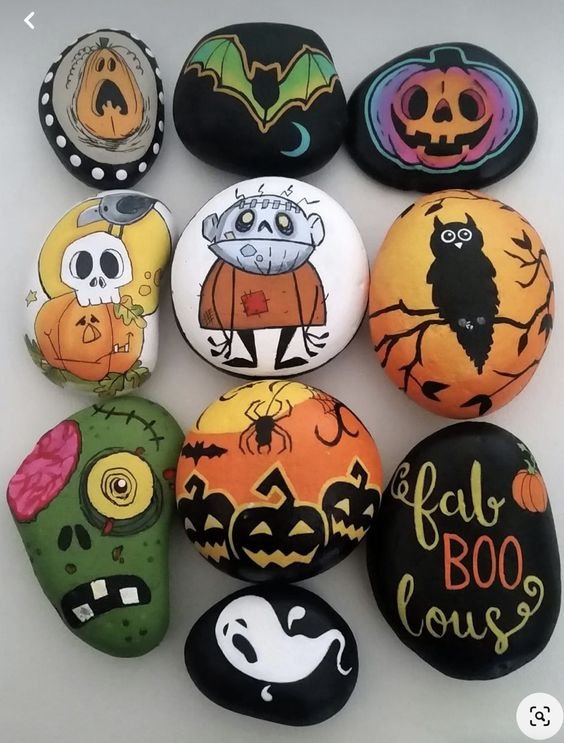
Cute Halloween Painted Rocks
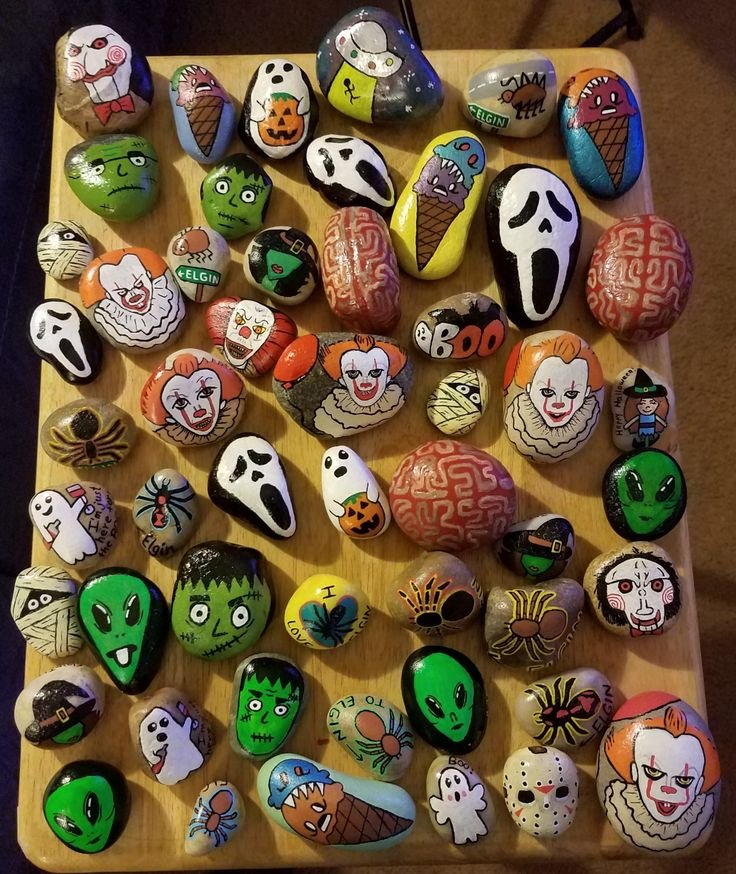
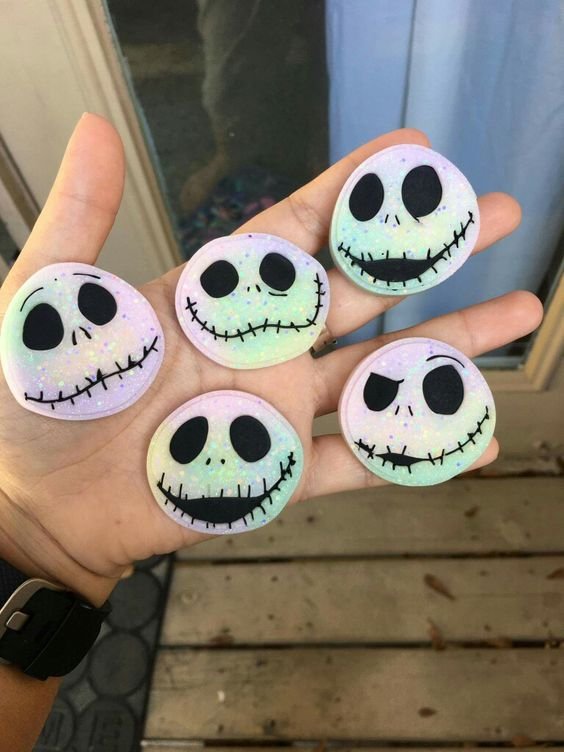
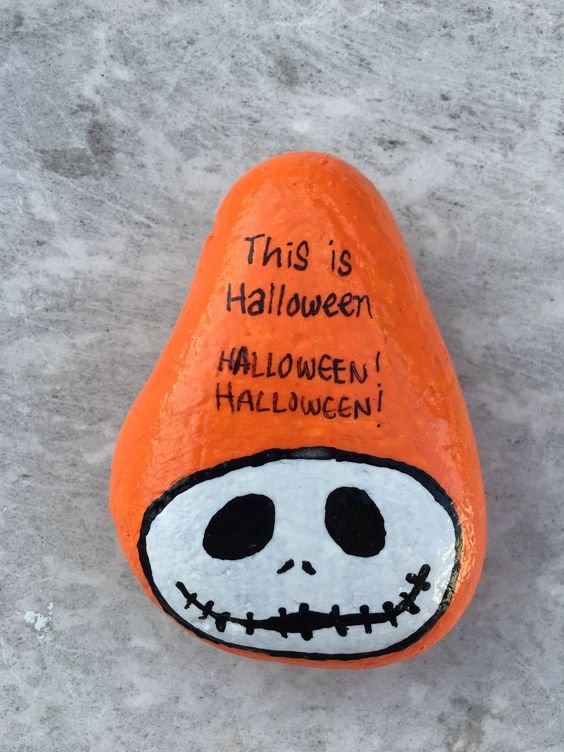
Jack Painted Rocks
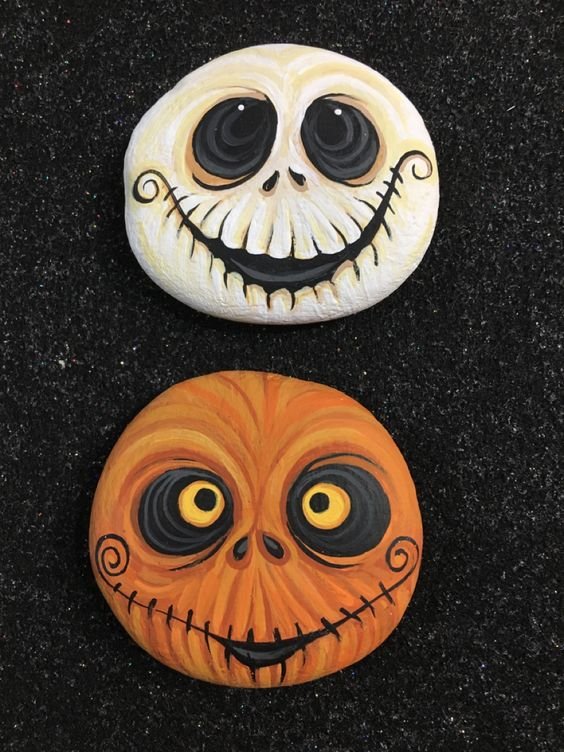
Jack Skellington Painted Rocks
Creepin it real Halloween Rocks
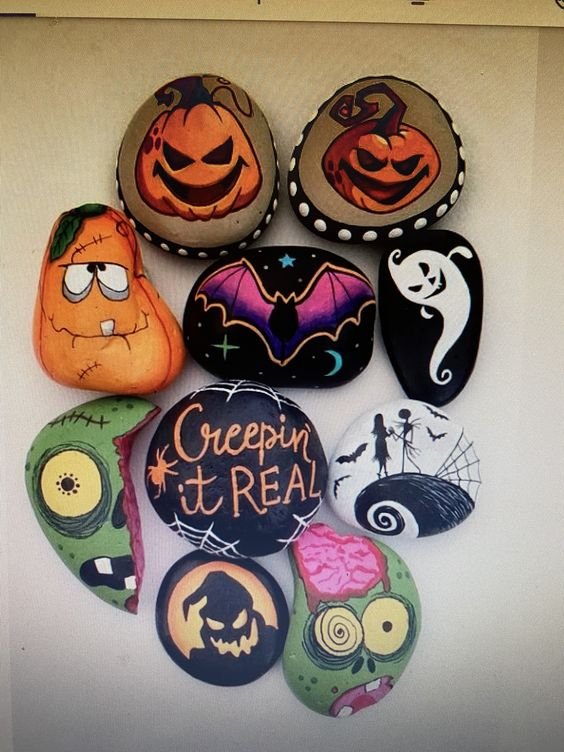
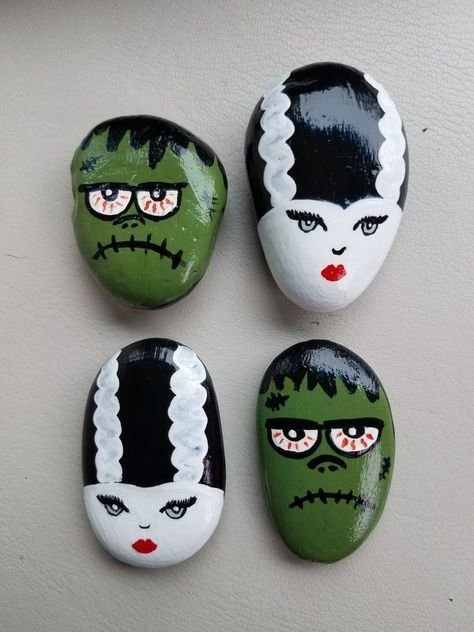
Halloween Frankenstein Rocks
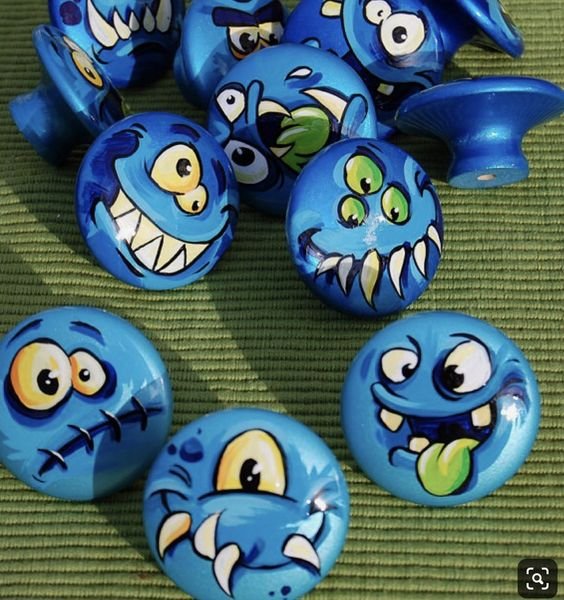
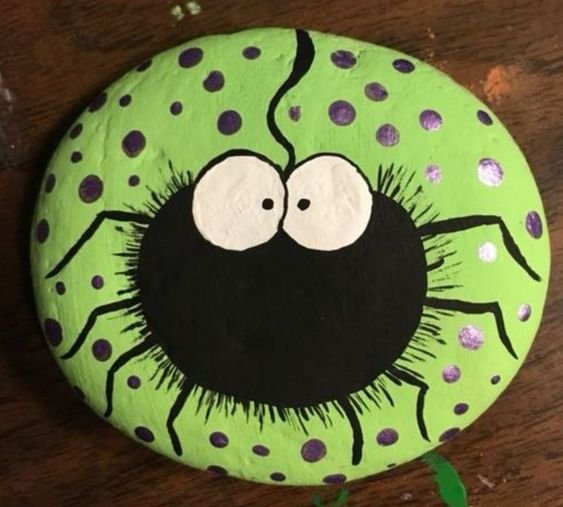
Cookie Monster Halloween Rocks
Ghost Buddies Halloween Rocks
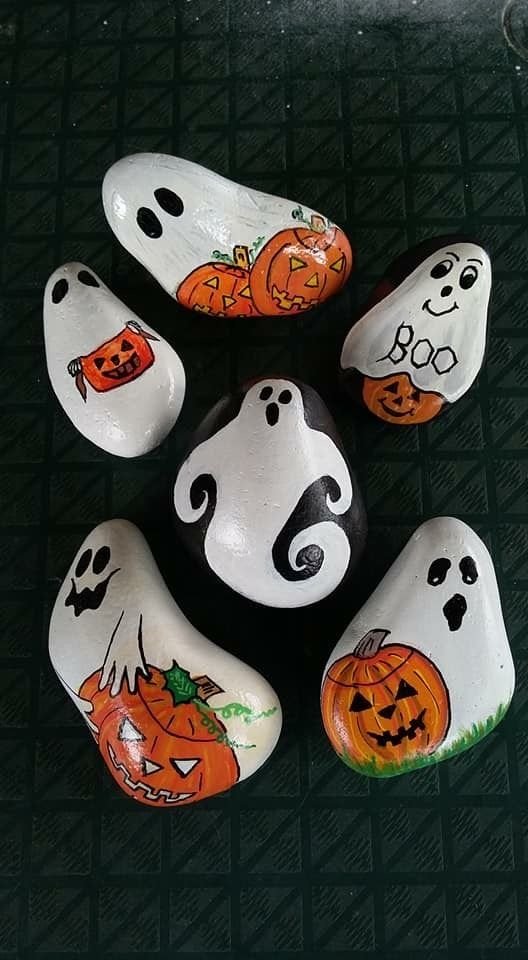
Ghost Painted Rocks
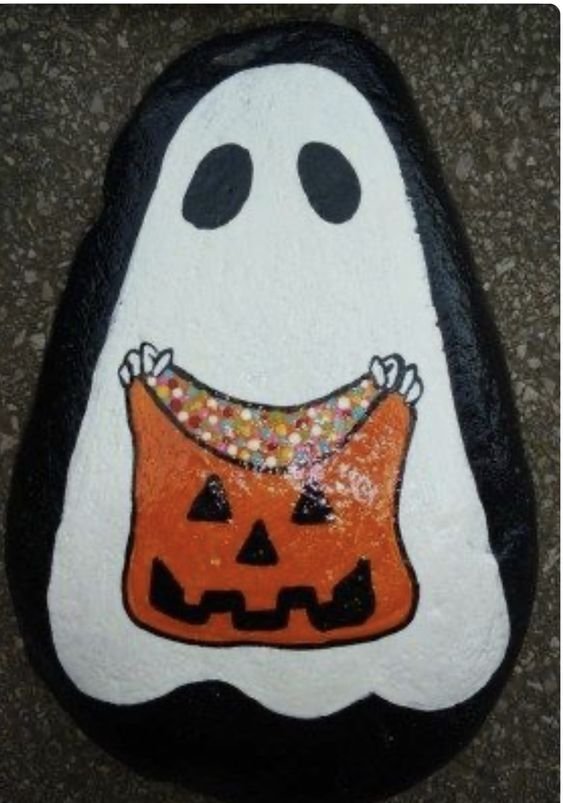
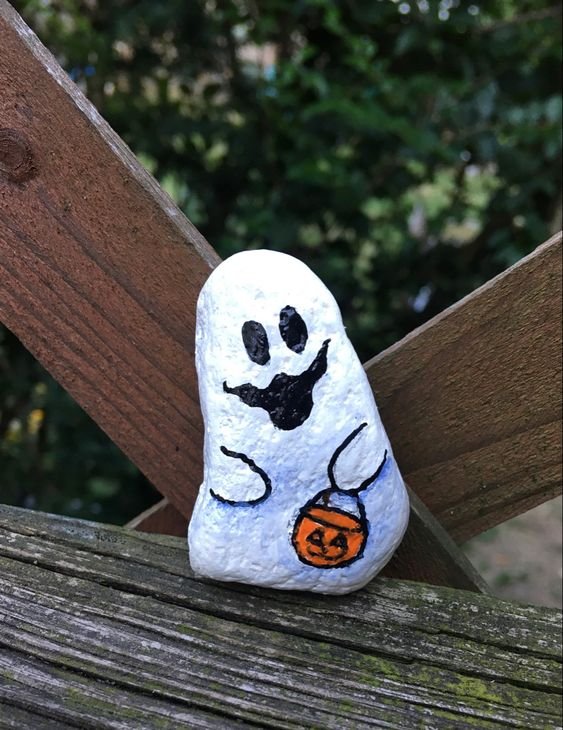
Ghost with candy bag
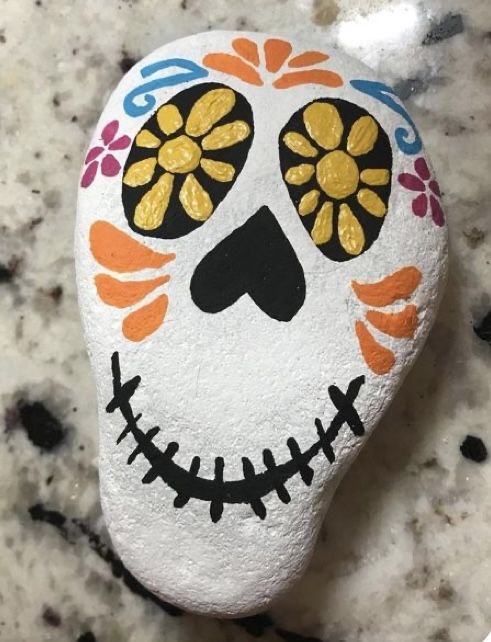
Mexican Skeleton Rock
Halloween Pumpkin rock
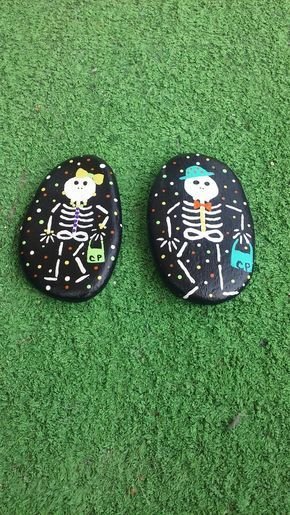
Boy & girl skeletons painted
Painted ghost rock
Cute Halloween Spider Rock
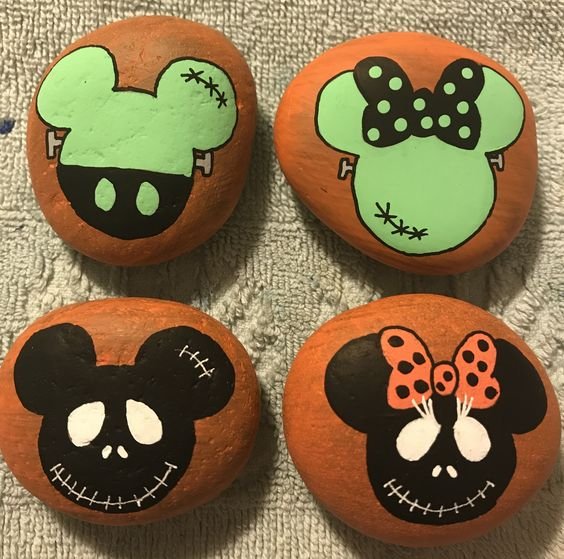
Halloween Disney Rocks
Candy Corn Rocks
This is Halloween Rock
Spooky Frankenstein Rock

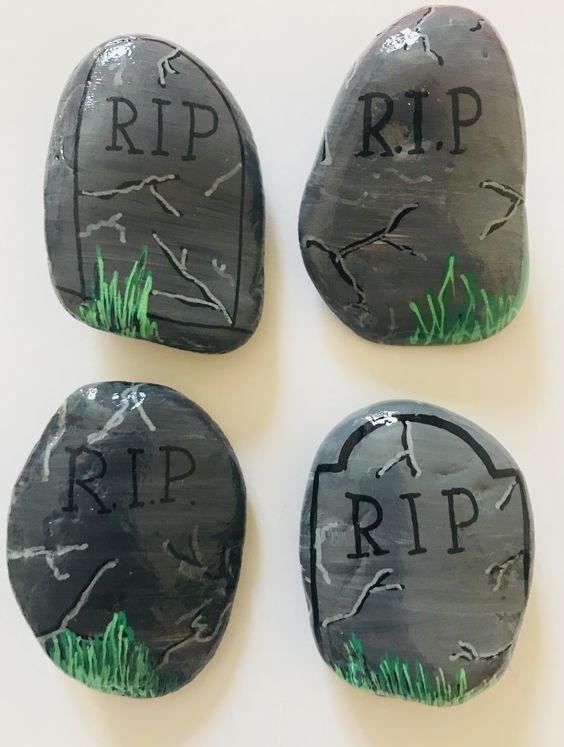
Tombstone painted rocks
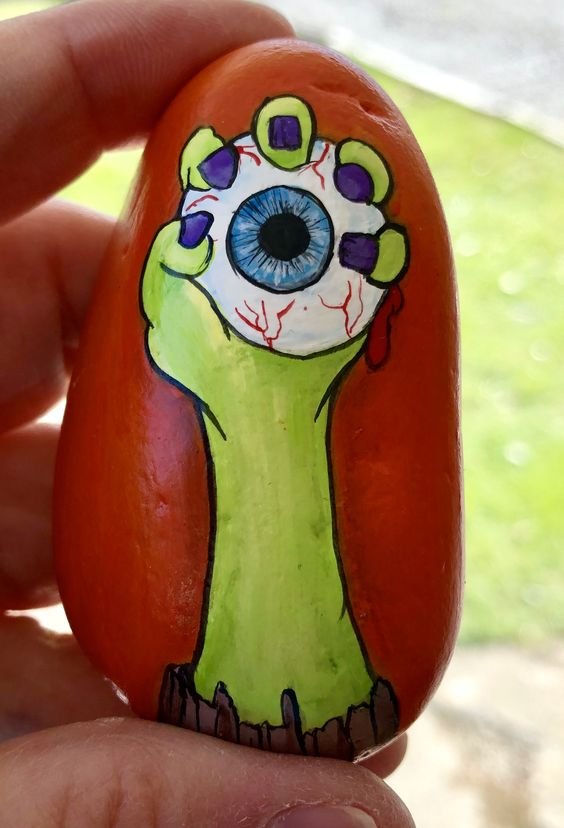
Zombie Arm
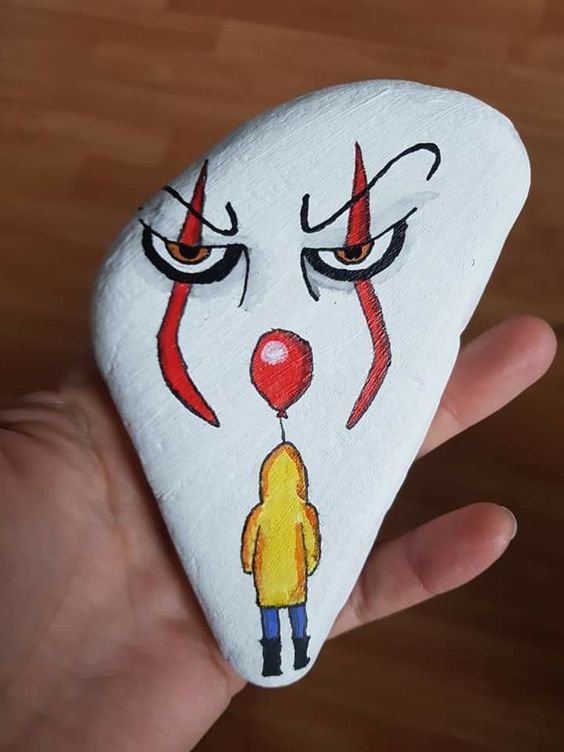
Penniwise Rock Painted
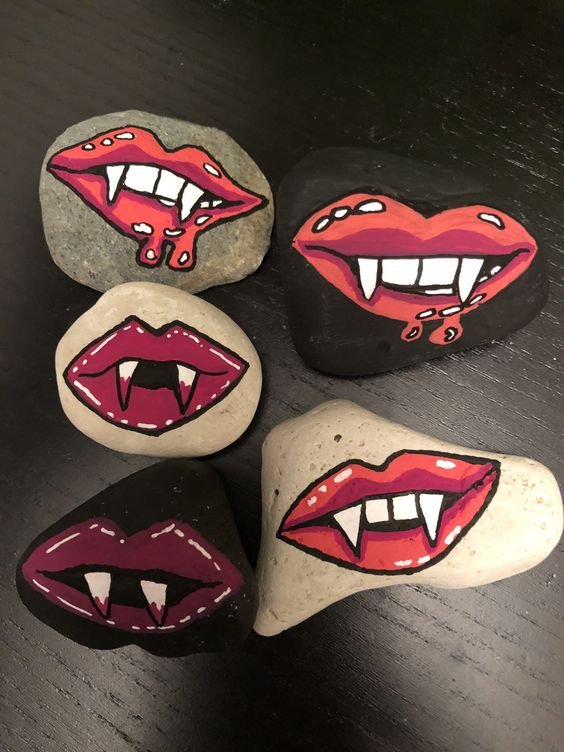
Vampire teeth painted rocks
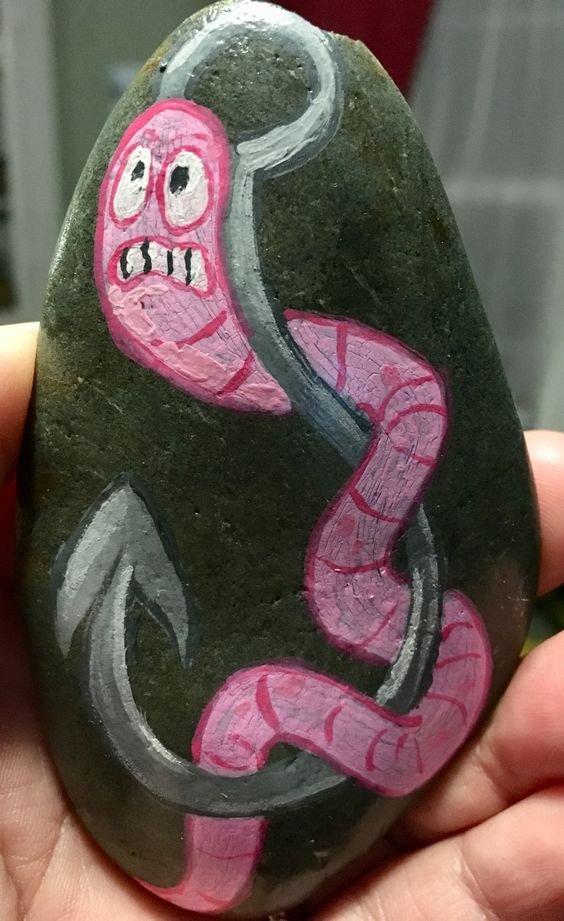
Fishing worm
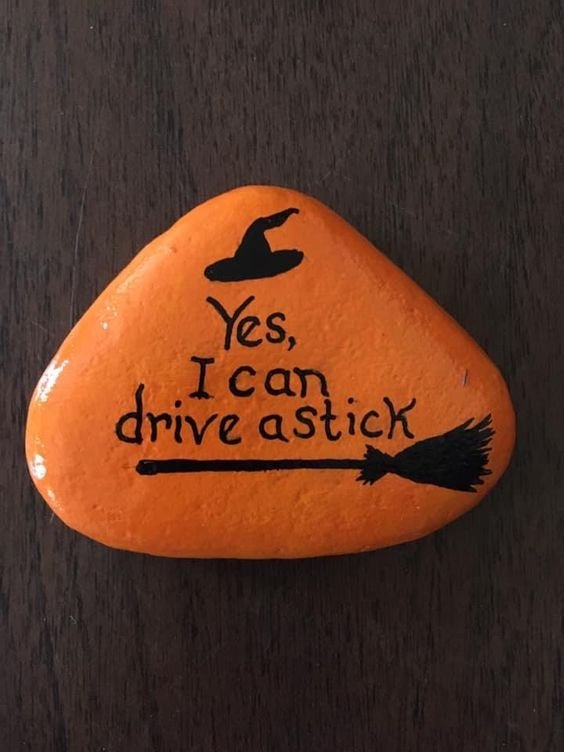
Drive a Stick Rock
Ghost and Pumpkin Rock
Halloween Rock
Happy Halloween Rock
So these were some of the best Halloween Painted Rocks which I love and hope you love them too. They are so easy to recreate and its all in all just a super fun thing to do.
More Halloween projects to try


I just love painting and painting on rocks is such a fun thing. Make sure you have lots of fun, painting rocks for Halloween.
Ask Me Anything